
We may earn money or products from the companies mentioned in this post.
Buying a first 3D printer gets frustrating when the machine needs more adjustment than expected or cannot fit the projects it was bought to make. This shortlist compares five desktop filament printers by their calibration features, usable print space, and everyday workflow.
For small projects, the Bambu Lab A1 mini is worth considering for its automated calibration. The Bambu Lab A1 offers the largest total build volume in this shortlist. The two Creality models and the ELEGOO Neptune 4 Pro provide other combinations of connectivity, controls, and print dimensions.
Why These Five Printers
This is a research-based comparison of five selected FDM printers that use 1.75 mm filament. It is not a hands-on test or an exhaustive ranking of current models. The recommendations reflect listed features and practical tradeoffs, rather than independently measured reliability, print quality, or setup time.
The main differences are how much calibration the printer automates, the dimensions of the objects it can print, and how files reach the machine. Price, stock, and regional configurations can change, so confirm the exact version with the manufacturer before ordering.
Quick Comparison: What Fits Your Situation?
Build dimensions below are width × depth × height. They describe the nominal printing envelope, not the desk space needed to operate the machine.
| Model | Nominal build volume | Setup and workflow features | Worth considering when… |
|---|---|---|---|
| Bambu Lab A1 mini | 180 × 180 × 180 mm | Automated calibration; Bambu Studio workflow | Most projects are small and calibration automation matters |
| Bambu Lab A1 | 256 × 256 × 256 mm | Automated calibration; larger build plate | Projects need more width and depth than the mini allows |
| Creality Ender-3 V3 SE | 220 × 220 × 250 mm | CR Touch bed leveling, automatic Z-offset, SD card transfer | The current purchase price fits the budget and offline file transfer is acceptable |
| Creality Ender-3 V3 KE | 220 × 220 × 240 mm | Automatic calibration, network features, USB drive transfer | Network printing and the KE’s additional controls are useful |
| ELEGOO Neptune 4 Pro | 225 × 225 × 265 mm | Klipper-based controls, automatic mesh leveling with manual auxiliary adjustment, LAN/USB workflow | Extra vertical space and access to printer settings matter |
The Neptune 4 Pro has the tallest nominal print envelope here. The A1 has the greatest width, depth, and total build volume. A taller printer is not necessarily the larger option for a wide tray or storage bin.
Bambu Lab A1 mini: Automated Calibration for Smaller Projects
The A1 mini has a nominal build volume of 180 × 180 × 180 mm. That makes it a candidate for small organizers, game pieces, brackets, display models, and replacement parts that fit within that envelope.
Its calibration features cover bed leveling, Z-offset, vibration compensation, and flow dynamics. These features reduce specific manual adjustments; they do not eliminate maintenance or guarantee a successful print.
A beginner still needs to follow the setup instructions, load suitable filament, learn the slicer, and inspect the first layer. Bambu Studio provides a starting point for preparing models and selecting printer profiles.
The main limitation is project size. Larger objects may need to be reoriented or divided into sections. Splitting a model adds joining work and can introduce visible seams or weaker connections, depending on the design.
Pros: Automated calibration features; a compact build envelope suited to small projects; an integrated software workflow.
Cons: Smallest build volume in this shortlist; moving-bed clearance is still necessary; larger projects may require splitting.
Consider the A1 mini when small practical parts are the priority. Choose by the dimensions of the intended projects rather than assuming every beginner will be comfortable with a 180 mm limit.
Who Should Look Elsewhere?
Buyers expecting to print wide trays, large display pieces, or other objects beyond its envelope should compare larger machines first. Even the A1 will not fit every helmet or large model in one piece.
Bambu Lab A1: More Room for Wider Projects
The A1’s nominal build volume is 256 × 256 × 256 mm. Its larger plate provides more room for wide containers, trays, and assemblies than the mini’s plate.
It follows a similar approach to automated calibration and guided operation. That combination makes it worth considering when a buyer wants automation and already has projects that exceed the mini’s dimensions.
The larger build envelope comes with workspace requirements. The plate moves during printing, and the installation needs space for bed travel, filament handling, cables, and maintenance. Static product dimensions alone are not an installation plan.
Pros: Largest total build volume in this shortlist; automated calibration features; room for wider and deeper single-piece prints.
Cons: Needs more operating space than the mini; larger projects still have limits; an open-frame design does not provide a controlled heated chamber.
The A1 is a practical option for buyers who can use its extra print space. A larger build volume alone does not establish better print quality or reliability.
Creality Ender-3 V3 SE: Offline File Transfer and Automatic Leveling
The Ender-3 V3 SE has a nominal build volume of 220 × 220 × 250 mm. Its features include direct-drive extrusion, CR Touch automatic bed leveling, and a sensor for automatic Z-offset.
The standard file-transfer workflow uses an SD card. Buyers can prepare a model in a slicer, export the file, and transfer it to the printer without setting up network printing.
Creality lists PLA, PETG, and flexible TPU among the supported materials. Material compatibility still depends on the filament’s requirements and appropriate profiles; it is not a guarantee that every spool or model will print successfully.
Creality advertises a maximum printing speed of 250 mm/s. Treat that as a manufacturer specification, not an independent result or a recommended setting for every project.
Pros: Useful medium-size print envelope; automatic bed leveling and Z-offset; direct-drive extruder; straightforward offline file transfer.
Cons: No built-in Wi-Fi workflow on the standard SE; manual file transfer adds a step; normal cleaning, inspection, and maintenance remain necessary.
The SE is worth comparing when its current total purchase cost suits the budget and network printing is unnecessary. Compare actual regional prices and included equipment before calling it the cheapest option.
Creality Ender-3 V3 KE: Network Features and Additional Controls
The Ender-3 V3 KE has a nominal build volume of 220 × 220 × 240 mm. Its print height is 10 mm less than the SE’s, so the KE is not simply a larger SE.
The KE adds network features, USB drive transfer, a touchscreen, and a hotend rated by Creality for temperatures up to 300°C. Creality also lists input shaping and motion advance features. Its vibration sensor is an optional accessory, so confirm what is included before assuming every calibration feature works out of the box.
These specifications may be useful for a buyer who wants network printing and access to additional controls. They do not, by themselves, demonstrate that the KE produces better prints or needs more troubleshooting than another model.
The advertised maximum printing speed is 500 mm/s. Actual settings depend on the filament, part geometry, cooling, acceleration, and selected profile. Start with an appropriate manufacturer profile rather than treating the maximum as an everyday target.
Pros: Network printing options; automatic calibration features; USB drive transfer; a higher advertised speed ceiling than the SE.
Cons: Slightly shorter build height than the SE; headline speed is not a universal operating setting; higher nozzle temperature does not remove the limitations of an open frame.
Compare the KE with the SE when connectivity matters. The useful question is whether its additional features justify the current price difference for the intended workflow.
ELEGOO Neptune 4 Pro: Klipper Controls and a Taller Print Envelope
The Neptune 4 Pro has a nominal build volume of 225 × 225 × 265 mm. It offers the most vertical room in this shortlist, although the A1 provides a larger total build volume.
Listed features include Klipper firmware, a segmented heated bed, automatic mesh bed leveling, manual auxiliary adjustment, and LAN/USB file transfer. Check the exact regional hardware version, including Type-C versus earlier configurations, before comparing listings or buying accessories.
Automatic mesh leveling measures variation across the bed. Manual auxiliary adjustment and correct Z-offset remain part of the setup process described for this model. Automation should not be interpreted as a substitute for mechanical setup.
ELEGOO advertises a maximum speed of 500 mm/s and a recommended speed of 250 mm/s. Neither is a guarantee for every material or design. The segmented heated bed can heat the central zone for suitable smaller jobs, depending on the selected settings.
Pros: Tallest print envelope here; Klipper-based controls; LAN workflow; segmented bed heating.
Cons: Manual auxiliary adjustment is part of the leveling process; hardware versions need careful checking; access to more settings does not establish better results for a beginner.
Consider the Neptune 4 Pro when its dimensions and controls match the intended projects. Buyers should be comfortable following its setup instructions and learning what the available settings do.
How to Choose Among These 3D Printers for Beginners
Measure the Projects First
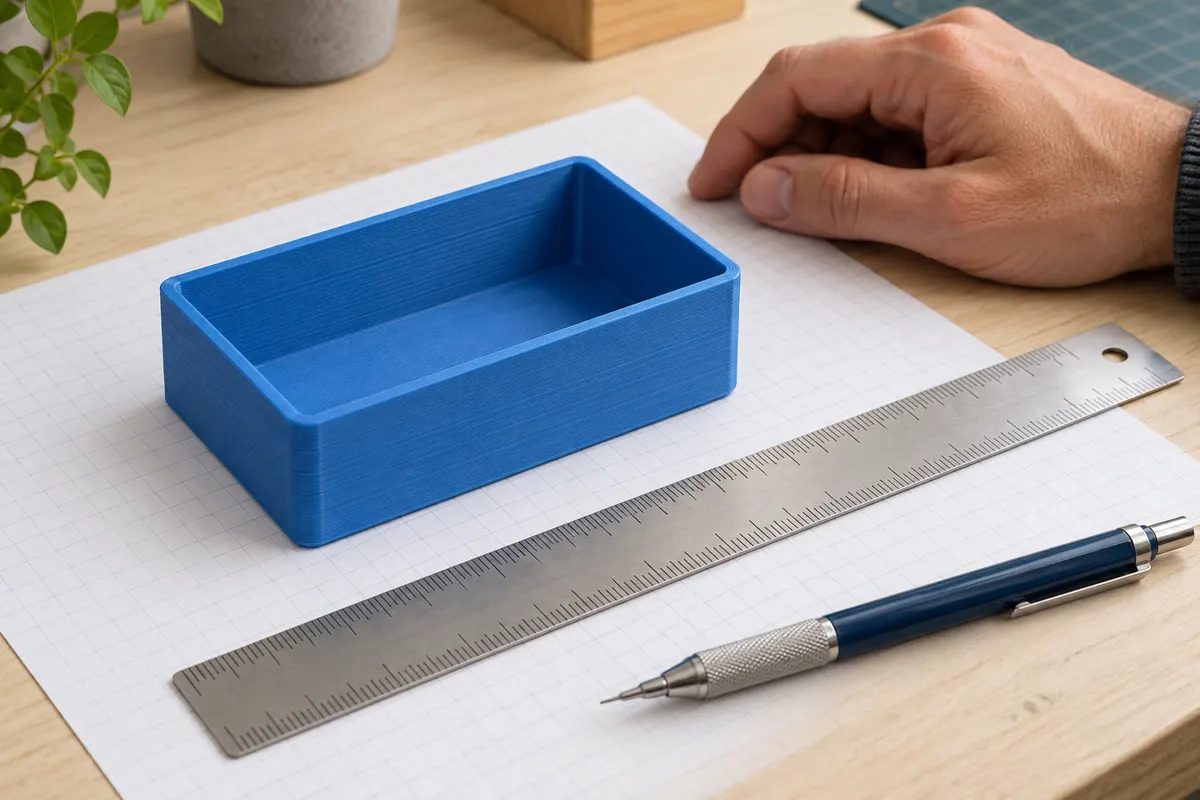
Check the largest single-piece model expected to be printed, including its planned orientation. Supports, brims, and other print settings can require additional space on the plate.
The A1 mini has the smallest envelope. The SE and KE offer 220 mm of nominal width and depth, while the Neptune 4 Pro offers 225 mm. The A1 provides 256 mm in both directions.
Splitting models can make larger projects possible, but joining and finishing should be part of the decision rather than an unexpected extra task.
Plan the Full Working Area
Leave room for the moving bed, spool, cables, build-plate removal, and access for maintenance. Follow the manufacturer’s clearance and placement instructions for the exact model.
A stable surface matters. Keep moving parts clear of nearby objects, and choose a workspace with ventilation appropriate to the material and manufacturer guidance.
Understand What Auto Leveling Does
Automatic leveling helps account for bed variation. It does not clean the plate, tighten loose components, dry filament, or select the right settings for a particular part.
Every model in this shortlist still requires basic care. Calibration features are useful comparison points, but they are not evidence of maintenance-free operation.
Compare the File-Transfer Workflow
An SD card, USB drive, or network connection can all be workable. Choose based on how files will move from the computer to the printer and how much network setup is acceptable.
Use a slicer and profile supported for the exact machine. Change settings deliberately and keep track of successful configurations instead of chasing the highest speed figure.
Budget Beyond the Printer
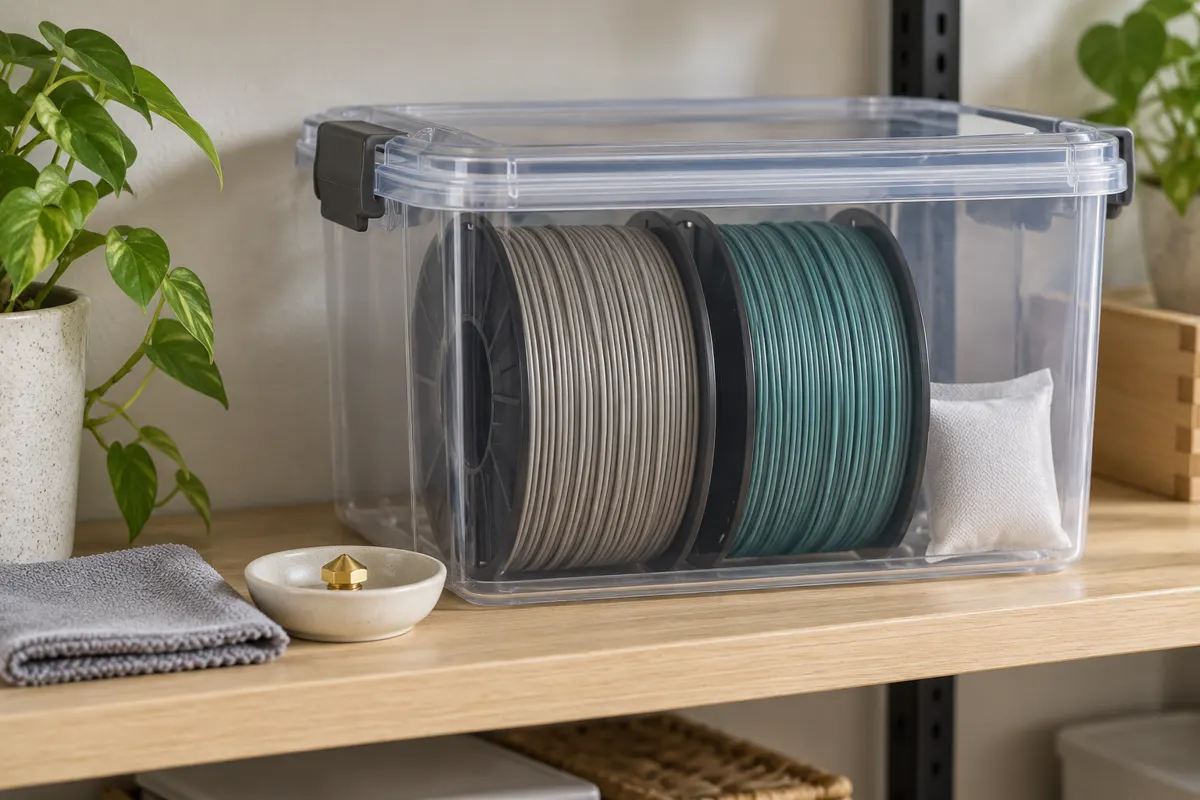
Include filament, suitable storage, cleaning supplies, and eventual replacement consumables such as nozzles or build surfaces. Compare the complete configuration: optional multicolor equipment and accessories may be sold separately.
PLA is a common starting material, but use the printer and filament manufacturers’ instructions. PETG and flexible TPU need suitable profiles, and moisture-sensitive materials need appropriate storage.
Avoid choosing a material solely because the nozzle can reach its listed temperature. Bed requirements, cooling, ventilation, and environmental conditions also matter.
Common Questions
Is Wi-Fi necessary?
No. Offline file transfer can be sufficient. Network printing is useful when supported remote transfer or monitoring features fit the workflow. A network connection does not automatically include a camera or every monitoring function.
Which models automate calibration?
The A1 mini and A1 automate several calibration steps. The SE and KE also offer automatic leveling and Z-offset features, while the Neptune 4 Pro combines automatic mesh leveling with manual auxiliary adjustment. This feature comparison is not a measured ranking of setup time.
Is a 500 mm/s printer automatically better?
No. A maximum speed specification does not establish print quality, reliability, or the time needed for a particular project. Compare supported profiles and practical workflow alongside the speed rating.
Does a 300°C nozzle make a printer suitable for ABS?
Not by itself. ABS adds environmental and ventilation considerations. Follow the manufacturer’s material guidance and do not assume an improvised enclosure is approved for these machines.
Which One Fits Your Projects?
Consider the A1 mini for smaller projects and automated calibration. Compare the A1 when more width and depth are useful: it has the largest total build volume here.
Consider the Ender-3 V3 SE when its current price and SD card workflow suit the budget. Compare the V3 KE when network features and additional controls justify the difference in cost.
Consider the Neptune 4 Pro for its taller envelope, Klipper controls, and LAN workflow, while checking the exact hardware variant.
For a first printer, the strongest starting point is a match between project dimensions, available workspace, and the setup process the buyer is willing to learn.
Manufacturer Sources and Research Method
This article compares manufacturer-listed features and practical implications. No hands-on testing or independent performance measurements are claimed. Prices and live inventory are omitted because they vary by market and date.