
We may earn money or products from the companies mentioned in this post.
A 0.4 mm nozzle is a common starting point for desktop FDM printing. Whether to change it depends on the projects and materials you want to use.
That works fine for plenty of projects. Still, once miniatures, big storage bins, or sturdy brackets show up in the queue, the nozzle starts to matter.
Choosing among 3D printer nozzle sizes involves more than the number on the nozzle: layer height, line width, hotend fit, and material requirements also matter.
This guide uses manufacturer documentation and explains practical tradeoffs. It does not report hands-on tests or measured speed or strength results.
Where speed or strength comes up, treat it as a tendency.
Results change with your printer, filament, and slicer settings.
Quick Comparison of 3D Printer Nozzle Sizes: 0.2, 0.4, and 0.6 mm
Here is the short version before the details.
| Consideration | 0.2 mm | 0.4 mm | 0.6 mm |
|---|---|---|---|
| Projects to consider | Small lettering, fine features, miniature models | Mixed everyday projects and moderate detail | Larger trays, organizers, props, and simpler functional shapes |
| Feature tradeoff | Can resolve finer in-plane features with suitable settings | Practical balance for many projects | Wider paths can limit fine text and narrow features |
| Print-time tradeoff | Fine paths and small layers often add time | Useful baseline for comparisons | Can reduce passes on suitable models; speed gain is not guaranteed |
| Particle sensitivity | Small opening demands particular care with material restrictions | Still needs compatible filament and maintenance | Larger opening is not protection against clogs or abrasive wear |
| Layer height and visible layers | Use a supported profile; diameter alone does not set vertical finish | Same principle | Same principle; taller chosen layers can make stepping more visible |
Compare the same model in suitable profiles before deciding. Slicer time estimates are planning aids, not measured completion times. The material’s requirements and the printer’s supported nozzle options take priority over a general size recommendation.
Nozzle Diameter vs. Layer Height, Line Width, and Filament Diameter
Most of the confusion starts here, so each term gets a plain definition.
Nozzle diameter is the size of the hole the melted plastic comes out of. A 0.4 mm nozzle has a 0.4 mm opening.
Layer height is how tall each layer is. It is a slicer setting, and you change it without touching any hardware.
A supported 0.4 mm profile may offer several layer heights. A smaller layer height changes vertical stepping; a smaller nozzle can help reproduce finer features in the XY plane. One does not substitute for the other.
Line width, also called extrusion width, is how wide each strand of plastic is once it gets pressed onto the print. Its relationship to nozzle diameter depends on the slicer, profile, and toolpath settings; it is not always identical to the hole size.
Wider lines can fill suitable walls in fewer passes, which may shorten a job if flow capacity and motion limits allow it.
Filament diameter is the thickness of the plastic going into the printer. Common filament diameters include 1.75 and 2.85 mm. Changing the outlet size does not change the printer’s required filament diameter, but the replacement nozzle and the exact filament must still be compatible.
Quick way to remember it: The nozzle sets the range of sensible layer heights and line widths. Layer height is your choice inside that range.
When to Consider 0.2 mm for Fine Features
A 0.2 mm nozzle lays down thinner lines, so it can reproduce smaller features. Think tiny text, thin fins, faces on figures, and small mechanical parts with tight spacing.
Good fits for this size include:
- Tabletop miniatures and small figurines
- Small embossed lettering or logos
- Detailed scale models
- Parts with very thin walls or fine gaps
What You Give Up
Using thinner paths and smaller layers can add many passes and extend print time.
A print that takes three hours on a 0.4 mm nozzle can take much longer on a 0.2 mm one, and the exact amount depends on the model and settings.
The small opening is more sensitive to particles and contamination. Do not treat nozzle size alone as a prediction of clog frequency.
Clean, dry filament matters a lot here.
If you start seeing under-extrusion, the troubleshooting checklist is a good first stop.
Check the exact filament maker’s minimum nozzle diameter and the printer’s supported materials. Do not assume a filled, glitter, or abrasive blend is suitable for 0.2 mm just because its base polymer is PLA or PETG.
Start with a supported small-nozzle profile and its material-specific flow limits. Increasing speed until extrusion fails is not a useful default tuning method.
A 0.2 mm nozzle is worth considering when fine in-plane features are a regular requirement. Before buying, preview the model in both compatible 0.2 and 0.4 mm profiles and check whether important details actually survive slicing. Smaller layers on a 0.4 mm nozzle may improve vertical finish but cannot guarantee the same fine feature reproduction.
When to Keep 0.4 mm for General Printing
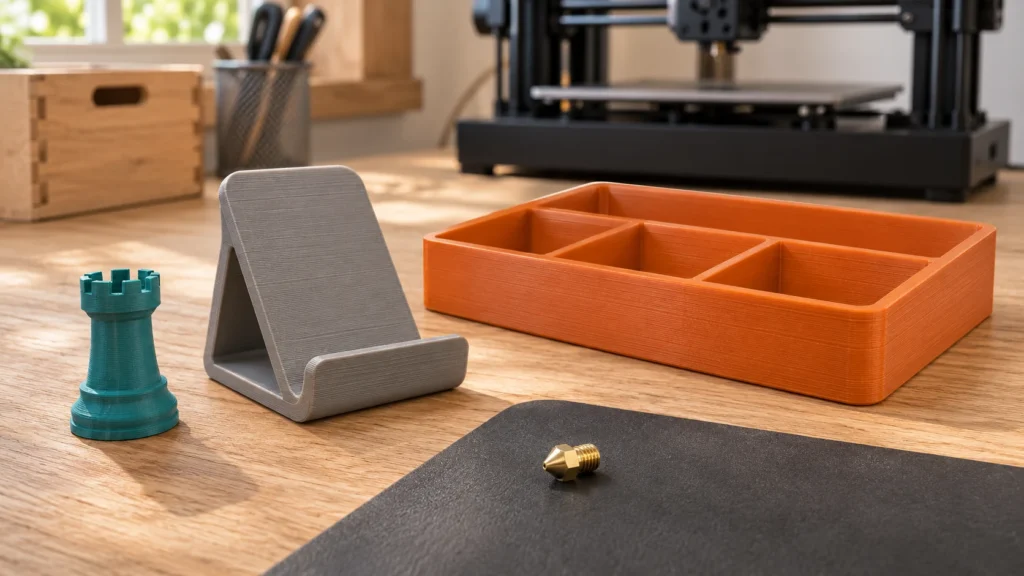
The 0.4 mm nozzle is the standard for good reason. It handles phone stands, enclosures, cosmetic prints, calibration pieces, and replacement parts.
Many desktop printers provide a stock 0.4 mm profile. Use the profile supplied for your exact printer, nozzle design, and material rather than assuming settings transfer between machines.
Keeping it makes sense if you print a mix of things and want to avoid swapping hardware. It also suits anyone still learning, since fewer variables mean problems are easier to track down.
Small to medium projects are another reason to keep it. Filament compatibility still depends on the material, nozzle construction, and hotend, not only its diameter.
If you are still choosing materials, the filament comparison covers how PLA, PETG, and others behave. If your first layers are not sticking cleanly, the first-layer guide is worth reading before you blame the nozzle size.
For most beginners, the best answer to “which nozzle should I buy” is to get comfortable with the 0.4 mm first. You learn what you actually want to change.
If extrusion becomes inconsistent, diagnose the feed path, profile, and nozzle before replacing parts. A fresh brass nozzle is not automatically the right repair, especially when the filament requires abrasion resistance.
When to Consider 0.6 mm for Larger Projects
Using suitable wider lines with a 0.6 mm nozzle can reduce the passes needed for walls and infill. On large parts that can shorten print time noticeably, though the amount varies.
Good uses include large storage boxes, organizers, and trays. Functional parts where surface finish matters less fit well, along with quick prototypes.
Vase-mode prints, big single-wall objects, cosplay pieces, and props also suit this size.
Tradeoffs to Expect
Some small text, thin walls, and narrow gaps may be difficult to reproduce with wider extrusion paths. Check the toolpath preview. Visible vertical stepping depends strongly on the selected layer height and model orientation, not on nozzle diameter alone.
Strength depends on several things. Wider lines and thicker layers can help certain parts, but layer adhesion, temperature, cooling, and print orientation all play a role.
Do not assume a larger nozzle makes a part stronger or suitable for a load-bearing use. Geometry, wall layout, material, orientation, and printing conditions all affect the result.
Your printer also has to keep up. At the same print speed, wider, taller lines require more plastic per second.
If the requested volumetric flow exceeds the system’s capability, extrusion quality can suffer. Respect the supported material/profile limits.
High-flow designs come in here, and they are covered in the next section.
Advanced tip: Avoid setting layer height to the maximum just because the slicer allows it. Many people land on a middle value for a better mix of speed and looks.
Overhangs and bridges may need different profile settings as well. Follow material-specific cooling guidance rather than automatically increasing the fan.
If large projects dominate your queue, compare a supported 0.6 mm profile with your current setup before buying. Check feature loss, estimated time, material use, and hotend compatibility together.
Filament Compatibility, Filled Materials, and Nozzle Materials
Three terms get mixed up constantly, and each one means something different.
Nozzle diameter is the opening size: 0.2, 0.4, or 0.6 mm.
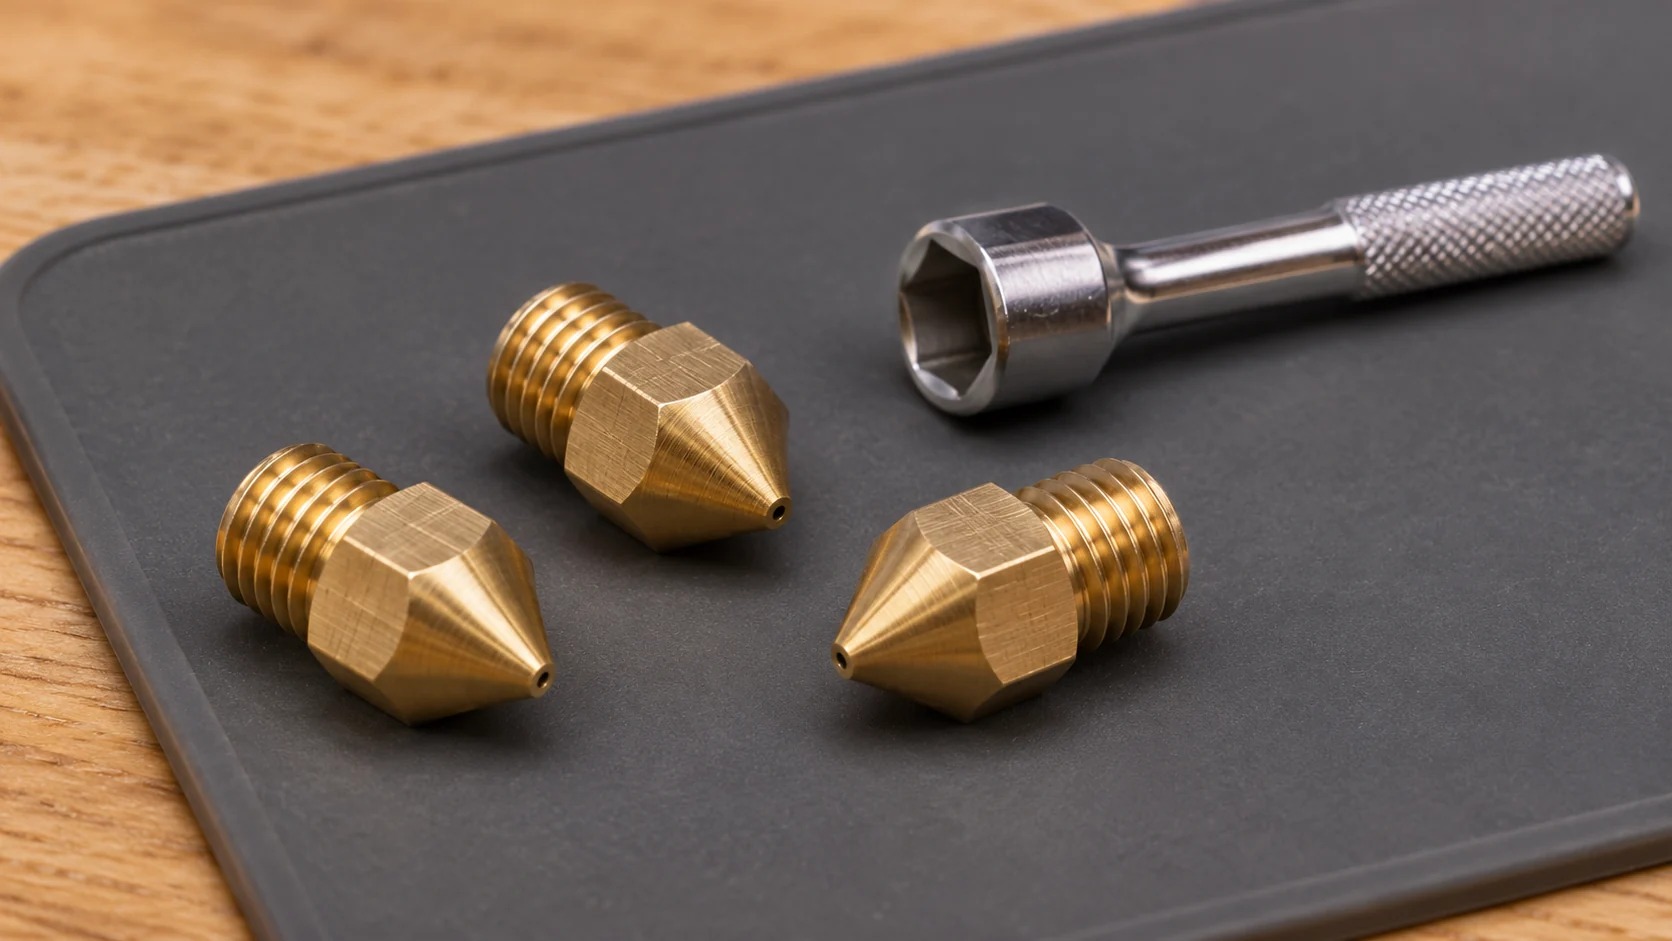
Nozzle material is what the nozzle is made of. Brass is common and conducts heat well, though abrasive filaments wear it down.
Hardened steel and other abrasion-resistant designs can be useful for compatible abrasive filaments. Thermal behavior differs by construction and coating, so use the nozzle/printer maker’s appropriate profile rather than applying a universal temperature increase. Stainless steel, coated tips, and composite designs are not interchangeable categories.
Diameter and construction are separate specifications: choose both. A material label alone does not establish detail, wear life, or print quality.
High-flow designs are nozzles or hotends built to melt more plastic per second, often with longer melt zones or different geometry. They suit fast printing and large nozzles.
A high-flow 0.4 mm nozzle exists, and so does a standard-flow 0.6 mm one.
The term gets used loosely, so read the manufacturer’s description.
Filled and Specialty Filaments
Carbon fiber, glass fiber, glow-in-the-dark, and some metal-filled or wood-filled filaments contain particles that can wear soft brass quickly. Many manufacturers recommend a hardened nozzle for these.
Minimum outlet-size requirements vary with the exact blend and its particles. Read that product’s data sheet rather than assuming every filled material accepts 0.4 or 0.6 mm.
Check the technical data sheet or product page for that exact filament. Then check what your printer maker says the hotend can handle.
A 0.2 mm nozzle with filled filament is usually a bad idea because of clogging, and many makers advise against it.
When choosing hardware for an abrasive filament, verify both its required wear-resistant construction and minimum diameter. Also confirm the entire nozzle or hotend assembly is approved for your printer; a matching thread alone is insufficient.
Check Hotend Compatibility, Update Slicer Profiles, and Perform Required Calibration
A swap goes smoother when you handle these steps in order.
Step 1: Check hotend compatibility. Nozzle threads and styles differ. Many printers use MK8-style nozzles, while others use proprietary designs, quick-swap nozzles, or integrated hotend assemblies.
Look up your model’s documentation for the exact nozzle type and supported diameters.
A nozzle that screws in may still fail to seal or sit at the right height.
Step 2: Follow the model-specific installation steps. Some threaded designs require specified heating and tightening steps; other assemblies are installed cold using a different method. Do not transfer one design’s procedure to another.
Use your manufacturer’s instructions and take care, since a hot hotend can burn you.
Step 3: Select a matching slicer profile. Choose the supported printer/nozzle variant, including standard-flow versus high-flow where relevant. Check layer-height limits, extrusion widths, material settings, and flow limits. Merely changing the nozzle-diameter field does not guarantee every setting updates: PrusaSlicer’s documentation explicitly distinguishes that field from extrusion-width configuration. Re-slice the model; do not reuse G-code prepared for the previous setup.
Step 4: Perform the checks required by your printer. Follow its post-replacement calibration sequence. Some machines need manual first-layer adjustment; others determine nozzle height automatically. Do not apply a universal Z-offset direction or reset.
Use the supported flow, temperature, retraction, and pressure/linear-advance procedures only where applicable. Start from the matched profile and investigate remaining symptoms rather than changing every value after each swap.
Step 5: Print a small test first. Run a simple calibration piece before committing to a ten-hour job. If something looks off, go through the troubleshooting checklist.
Keep clear of heated and moving parts, and follow the power/cooling instructions for the particular service procedure. Stop if a new setup scrapes the plate or leaks plastic.
Project-Based Selection Checklist and FAQs
Pick the Nozzle by the Project
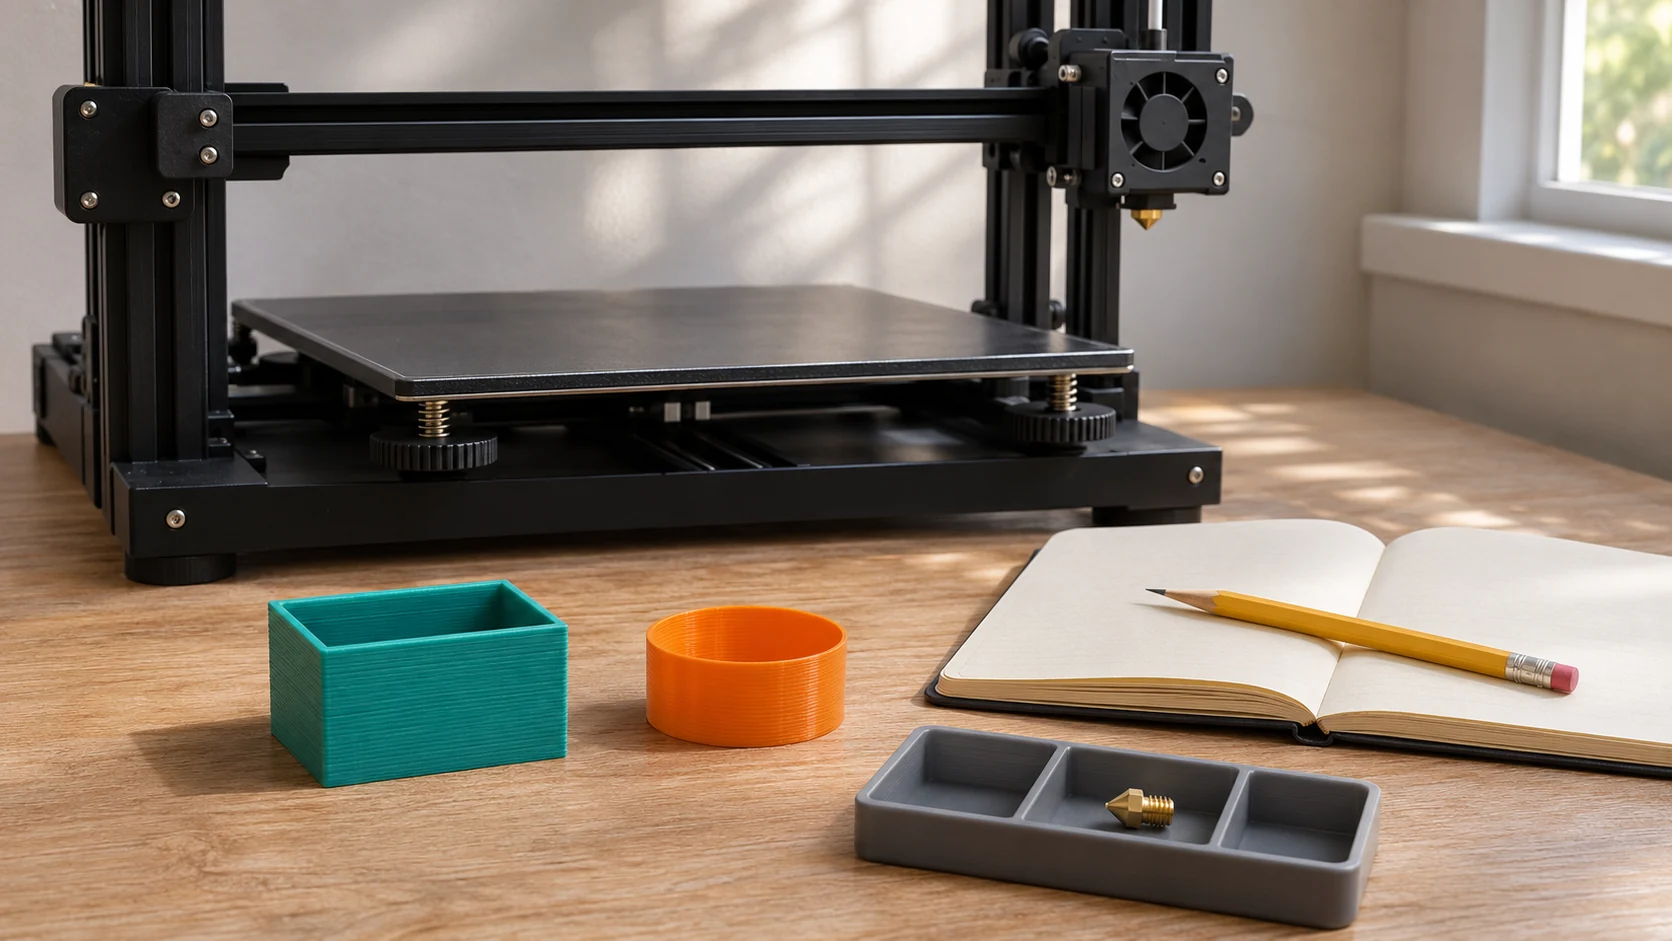
A small figure with fine detail points to 0.2 mm, with patience and clean filament. Mixed everyday prints and mechanical parts with moderate detail fit 0.4 mm. A large box, tray, or organizer suits 0.6 mm, and so does a quick prototype where looks do not matter.
For filled or abrasive material, use the construction and minimum diameter specified for that exact filament and supported by the printer.
For a first upgrade, most beginners can skip it, since 0.4 mm covers most needs. Add a 0.6 mm later if big prints become routine. That pattern holds across most 3D printer nozzle sizes.
Bigger Nozzles and Print Speed
A bigger nozzle can reduce time on large parts when the hotend melts plastic quickly enough. Small parts may show little difference.
Layer Height on a 0.2 mm Nozzle
Layer height normally has to stay below the nozzle diameter, and the typical range sits well below it. A 0.2 mm layer on a 0.2 mm nozzle is usually outside that range.
Check your slicer for the limit.
Filament After a Nozzle Swap
The printer’s required input filament diameter stays the same, but compatibility with the new outlet size and nozzle construction must be checked again. A previously usable filled filament may be unsuitable for a smaller opening.
Hardened Steel Nozzles
Abrasion-resistant construction can reduce wear with suitable materials. Actual detail and extrusion still depend on the nozzle’s condition, geometry, thermal behavior, and profile. Do not assume the same diameter means identical results.
Replacement Timing
No universal schedule exists. Replace a nozzle when you see wear, persistent clogs, or poor extrusion that cleaning does not fix.
Abrasive filaments shorten brass nozzle life.
The 0.6 mm Nozzle for Beginners
It can work well for someone who mostly prints large, simple objects. For general learning, 0.4 mm has more settings and profiles to lean on.
Where to Buy Nozzles
Buy from your printer manufacturer or a reputable seller that lists your exact model’s compatibility.
Choose Based on Your Projects
Start with 0.4 mm and learn it well. Add a 0.2 mm nozzle if fine detail becomes your main interest, and a 0.6 mm nozzle if large, quick, or functional prints take over your queue.
Whatever you choose, verify compatibility, select a matching profile, and perform the required checks before a large print. Choose the diameter for the features and workflow you need, rather than expecting an automatic upgrade in speed or strength.
Sources and Research Method
Manufacturer documentation was checked on November 18, 2026. This is a research-based selection guide, not a report of personal ownership, measured print times, or strength testing. Check your exact printer, nozzle assembly, firmware, slicer, and filament instructions. Images are AI-generated illustrations, not measured comparisons of nozzle openings or test results.