
We may earn money or products from the companies mentioned in this post.
A poor first layer can derail a print before the model has a stable base. The print peels up, the lines have gaps between them, or the nozzle plows through the plastic and leaves ridges.
These symptoms can overlap, so use them as starting clues rather than a diagnosis.
Start by recording what happens before changing a setting. Changing several things at once makes it harder to tell which adjustment helped.
So this guide goes in order, from the easy stuff to the hardware stuff.
Read this first: Your printer and your build plate came with documentation, and that documentation beats any number in a general article. Cleaning products, bed temperatures, first-layer speeds, and Z offset values all vary between machines and plate types.
Smooth PEI, textured PEI, glass, and coated spring steel each have their own rules.
Treat every tip here as “check the manual” and never as a target number.
Quick Symptom Table
Start here. Find the row that matches what you see, then run the first check before anything else.
Use the checks below to narrow down common first-layer problems.
| What you see | Possible causes | First check |
|---|---|---|
| Print peels up or gets dragged | Contamination, unsuitable plate/material combination, nozzle clearance, temperature | Check plate preparation and the correct printer/material profile |
| Separated lines or gaps | Excessive nozzle clearance, insufficient flow, uneven surface | Compare line shape, then use the printer’s documented calibration routine |
| Raised ridges or smeared lines | Insufficient clearance or excessive flow | Check the height calibration and slicer profile; do not assume an offset direction |
| Scraping, clicking, or little filament | Insufficient clearance, feed resistance, clog | Stop scraping immediately; use supported inspection and heated extrusion procedures |
| Different results across the bed | Seating, contamination, alignment, compensation, temperature variation | Check seating and compare small tests in several locations |
| Corners lift after initial adhesion | Warping, cooling, small contact area | Review material requirements, drafts, and model contact area |
| Blobs or inconsistent startup | Priming, residue, feed issue, possibly damp filament | Check the supported start routine and filament condition |
What a Good First Layer Should Look Like
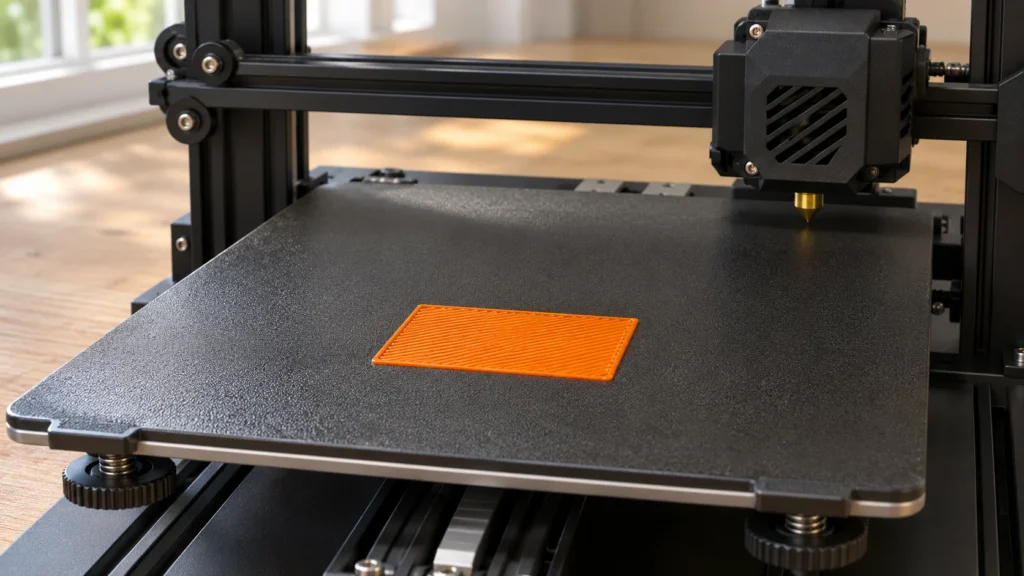
A good first layer looks like lines of plastic that got gently pressed into the plate and into each other. The lines are slightly flattened. They are not round like spaghetti.
Neighboring lines touch and blend, so the surface looks like one sheet with a faint line texture. No see-through gaps.
No raised ridges between lines.
Inspect visually while keeping clear of the moving printer. If you want to handle a sample, wait until the printer is idle and cool, then remove it using the plate maker’s procedure.
Gaps and ridges can also come from flow or slicer settings. A translucent filament may let light through even when its lines are joined; transparency alone does not diagnose nozzle height. Do not push on a live print to test adhesion, and do not force a stuck model off the plate.
Clean the Build Surface and Check Plate Seating
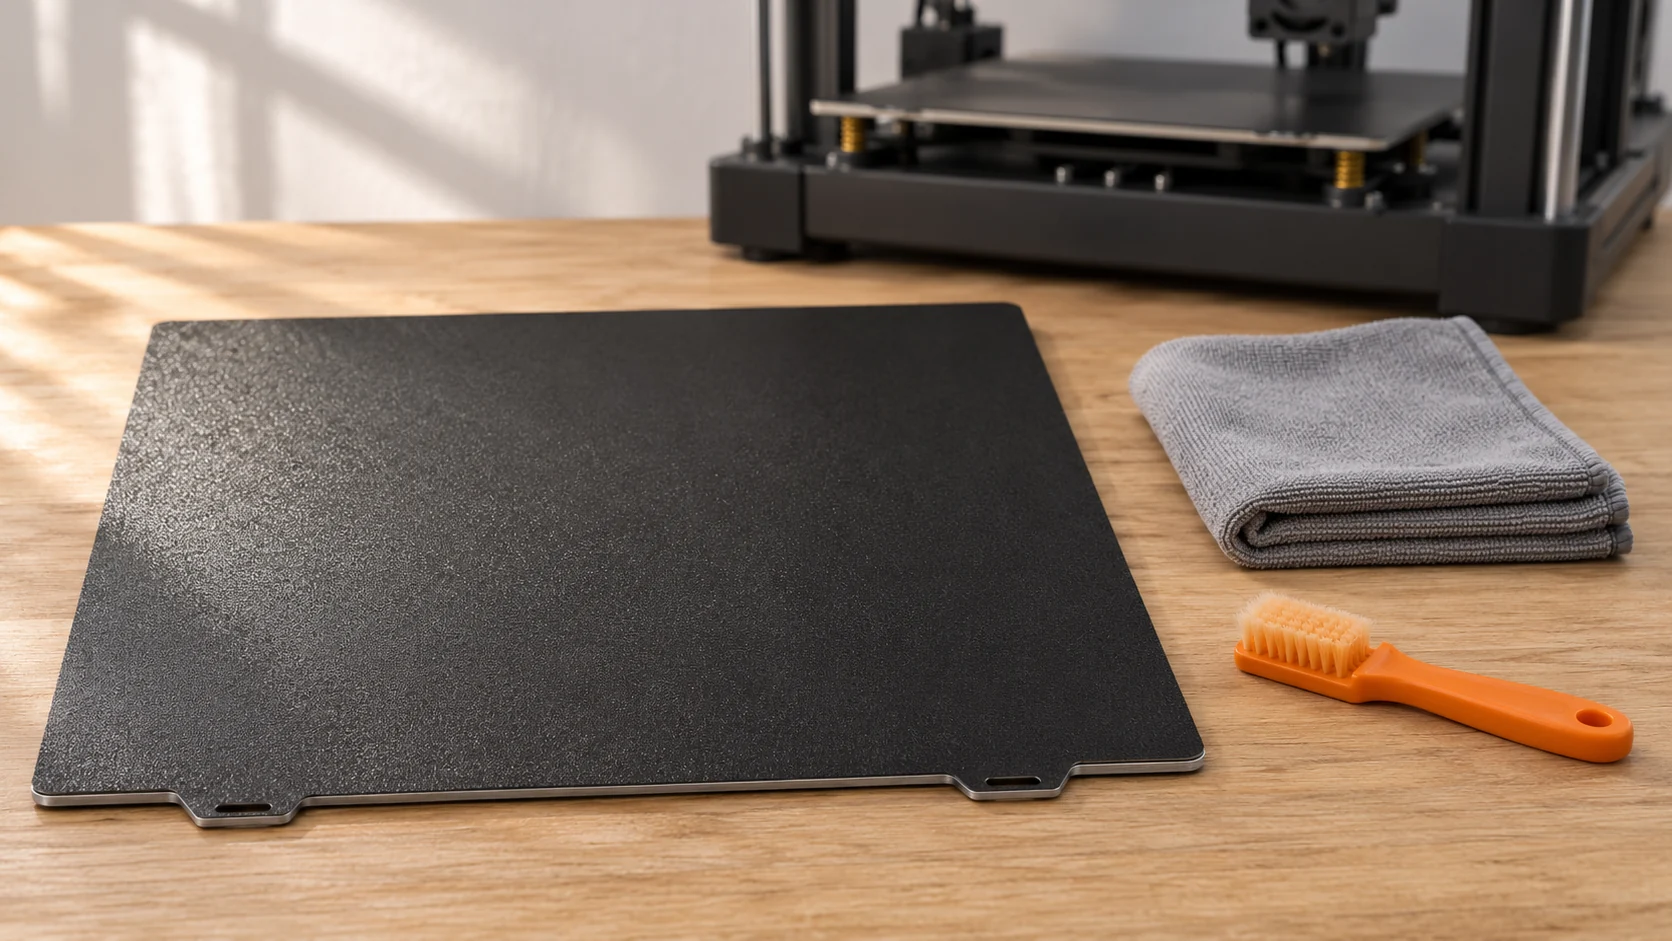
Plate preparation is an easy early check. Fingerprints can reduce adhesion locally.
Dust and old glue residue do the same thing.
Look up what the plate maker recommends. Some plates handle certain alcohols.
Some want warm water and dish soap.
Some coatings get damaged by solvents. A cleaner that works on glass may harm a textured or coated sheet, so do not copy cleaning advice from a different plate.
If you cannot find guidance, contact the maker before you experiment.
Seating Matters Too
Magnetic and clip-on plates can sit slightly off. A bit of debris underneath or one corner not fully down is enough.
Debris can change the nozzle clearance locally and resemble a calibration problem.
With the printer idle and cool, remove and reseat a removable plate as its manual allows. Clear debris underneath using the approved method, then inspect for damage or distortion.
If damage appears significant, check the manufacturer’s troubleshooting guidance before replacing the plate. A cosmetic mark alone does not establish that it is unusable.
Recognize Signs of a Nozzle That Is Too High or Too Low
Nozzle clearance is one important factor. These visual clues help decide whether to check height calibration.
Too high: Lines look round and sit loosely on the plate. They do not touch each other.
You get gaps and the print peels off easily.
The filament is basically laid on top of the bed with no pressing into it.
Too low: The plastic has nowhere to go, so it squeezes out sideways. You see ridges, a rough or glossy smeared look, and sometimes the nozzle scraping the surface.
In bad cases the extruder clicks or skips because the filament cannot get out.
A flared bottom edge, often called elephant’s foot, is not proof of a height error. Review first-layer settings and thermal conditions as well.
A lot of people see a ridged first layer and think they need less extrusion, or see gaps and think they need more. Look at the line shape first.
Round, separated lines can suggest excessive clearance; crushed or ridged lines can suggest insufficient clearance. Confirm using the model-specific procedure before adjusting anything.
Check Bed Alignment, Mesh Leveling, and Calibration
If results differ across the bed, check seating and local contamination before calibration. The terms below describe different parts of the setup.
Z Offset, Bed Alignment, and Mesh Leveling: The Differences
Z offset is a correction relating the nozzle position to a reference established by the printer or probe. Its meaning, sign, and adjustment method depend on the machine. Some printers need a manual first-layer adjustment; others determine nozzle contact and height automatically. Do not apply a universal positive/negative adjustment rule.
Bed alignment, often called tramming, concerns the surface relative to the nozzle’s travel, rather than its level relative to gravity. Only adjust hardware that the manufacturer identifies as user-adjustable.
Mesh leveling measures the surface at multiple points and applies position-dependent compensation. It cannot repair loose hardware or a badly seated plate.
Automatic mesh measurement does not mean every printer needs a separate manual Z-offset step. For example, Prusa documents automatic first-layer calibration for its loadcell-equipped MK4/S, MK3.9/S, and XL models. Older probe-based models use a different procedure. Use the instructions for your exact model and firmware.
A Simple Order of Work
- Confirm the plate is seated correctly and the correct plate/profile is selected.
- Follow the manufacturer’s calibration sequence, including its heating and nozzle-cleaning instructions.
- If mesh results are available, record them alongside the test print. A changed reading is a clue, not proof of a warped plate.
- Inspect suspected movement or looseness using the maintenance guide. Do not tighten every screw or eccentric nut indiscriminately.
- After changing a nozzle, plate, or probe-related part, perform the checks required for that machine. Some systems calibrate automatically before printing.
If automatic calibration fails, use its documented sensor/nozzle checks or contact support. Repeatedly changing an offset may conceal the underlying problem.
Verify First-Layer Slicer Settings and Material Compatibility
The slicer can undo perfect hardware. The settings worth a look are first-layer height, first-layer line width, first-layer speed, bed and nozzle temperature, fan behavior on the early layers, and whether you are using a brim or raft.
No numbers here, because the right ones depend on the filament and the plate. Use the spool label or the maker’s data sheet for temperatures.
Use the printer or plate documentation for the limits of your bed surface.
Material matters a lot. Some filaments need a specific plate, an adhesive, or an enclosed printer to stick well.
If you are choosing between materials, our filament comparison covers how they behave, which helps you skip a material that fits your setup poorly.
Check Filament Condition
Moisture can affect extrusion, but spool age or storage history alone does not prove it is wet. If practical, compare with a known-good spool of the same material using the same appropriate profile.
If lines look bumpy and you hear popping at the nozzle, check the filament before you blame the bed.
For PLA-specific precautions, see how to dry PLA filament. Drying temperature and duration must suit both the filament and its spool; storage with desiccant is not a substitute for an appropriate drying cycle.
A brim may help models with small contact areas, but it does not correct contamination or faulty calibration. An approved adhesive may also act as a release barrier for some plate/material combinations, rather than simply increasing adhesion. A slower first layer usually gives the plastic more time to bond, but stay inside the range your printer recommends.
Run a Small Test and Change One Variable at a Time
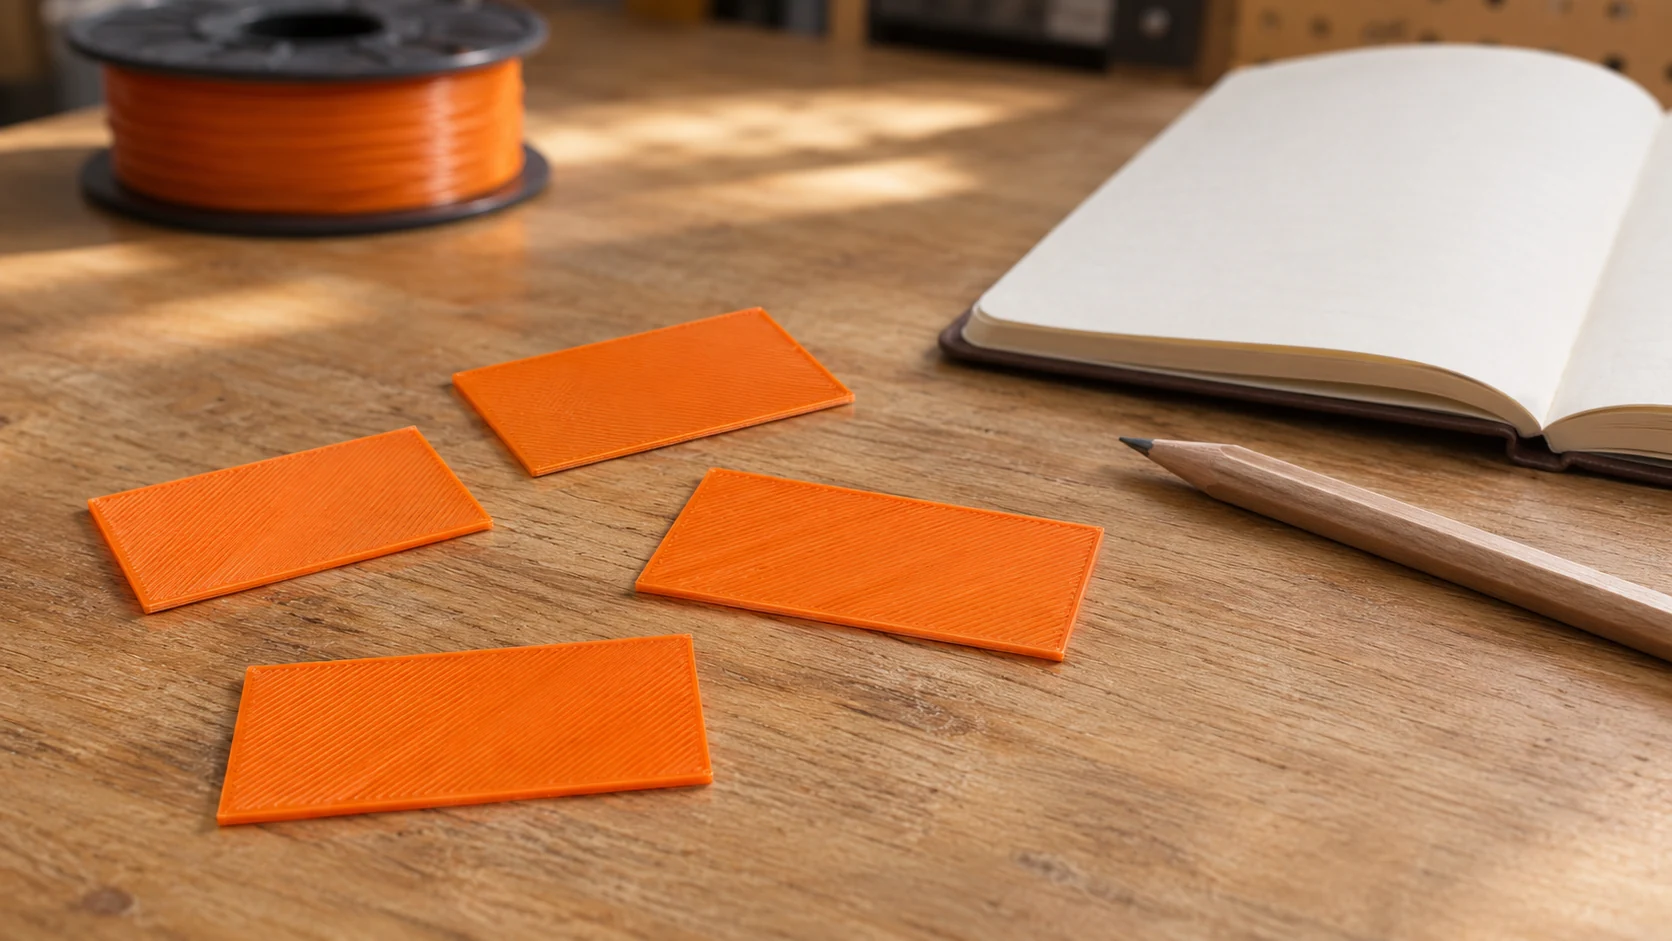
A big print is a bad test. Use the manufacturer’s calibration pattern or a small single-layer test sliced for your printer, nozzle, and material. Do not use an unknown pre-sliced file for another machine.
The method matters more than the pattern.
- Start from known good defaults for your printer and material.
- Print the test and write down exactly what you see.
- Change one appropriate variable only. Adjust nozzle height only if the printer supports and requires that manual procedure.
- Print again and compare.
- Write down what you changed.
Changing temperature, speed, and height together leaves you with no clear indication of which one helped. Your notes also save you next month when the same problem comes back.
Compare locations: Test squares in several bed areas can reveal whether the problem is local or widespread. Differences may involve seating, contamination, alignment, compensation, or temperature. Similar results everywhere can also involve the profile, flow, material, or height calibration. The pattern narrows the investigation; it does not identify a cause by itself.
When to Investigate Extrusion or Hardware
If plate preparation, the appropriate calibration, and the slicer profile check out, investigate extrusion and hardware. Gaps or rough lines alone do not prove a clog. Here is what to look at.
- Partial clog or worn nozzle: Lines that change width along the path, or clicking from the extruder.
- Extruder tension or gears: Uneven feeding, grinding noises, or filament shavings near the gear.
- Filament path: Tangles, tight bends, or a spool that resists turning.
- Loose parts: A hotend, bed, or belt that shifts around.
- Flow settings: Check the manual for the proper way to calibrate extrusion on your machine.
Use the maker’s maintenance procedure, including its cooling, power, and heating requirements. Never force filament through a cold nozzle or touch a hot nozzle. Test extrusion only through a supported loading/extrusion routine. Replace a nozzle only when the diagnosis warrants it, and match the complete hotend/nozzle specification, not just the nominal diameter.
Our general troubleshooting checklist covers the wider set of print problems. It makes a good next stop once the first layer looks right and later layers start misbehaving.
FAQs and a Reusable First-Layer Checklist
Common Questions
Sticks in the center but lifts at the corners. This often comes from a tilted or warped bed, an uneven mesh, or drafts and cooling at the edges. Test squares can help locate the inconsistency, but further checks are needed to identify its cause.
Using glue or hairspray. Some plates and makers allow adhesives and some do not. Check your plate’s guidance first, since certain coatings can get damaged or become hard to clean.
Auto bed leveling and manual adjustments. Whether a manual height adjustment is needed depends on your printer. Keep the plate clean and use its specified automatic or manual calibration process.
Worked yesterday, fails today. Look for a fingerprint, a plate that shifted, a new spool, a change in room temperature, or residue on the nozzle.
A very squished first layer. Insufficient clearance can cause ridges, restrict extrusion, or damage the sheet. A flared bottom edge can have other causes too. Aim for the look described earlier in this guide.
The Reusable Checklist
Copy this into your notes and run through it before any print that matters.
- Plate cleaned using the maker’s recommended method.
- Plate seated flat with nothing trapped underneath.
- Nozzle tip free of residue.
- Filament dry and suitable for your plate.
- Printer warmed up and calibrated per the manual.
- Height calibration checked using the model-specific procedure; manual offset adjusted only if applicable.
- Slicer first-layer settings match your material and printer guidance.
- Test squares printed across the bed, one change at a time.
- Notes written down.
- Extrusion and hardware checked if it still fails.
Start with plate preparation and seating, then check the appropriate calibration and material/profile settings. Use small tests and record one change at a time. If the nozzle scrapes or a calibration fault persists, stop and resolve it before attempting a larger print.
Sources and Research Method
Manufacturer documentation was checked on November 18, 2026. This is a general troubleshooting guide, not a report of hands-on tests. Procedures and limits must be matched to the reader’s exact printer, firmware, plate, and material. Images are AI-generated illustrations, not photographs documenting measured results.