
We may earn money or products from the companies mentioned in this post.
If a spool that used to print clean starts popping at the nozzle or leaving a rough finish, moisture is one possibility. Drying is worth trying when the symptoms follow the spool. If every spool leaves the same fine strings, start with your slicer settings.
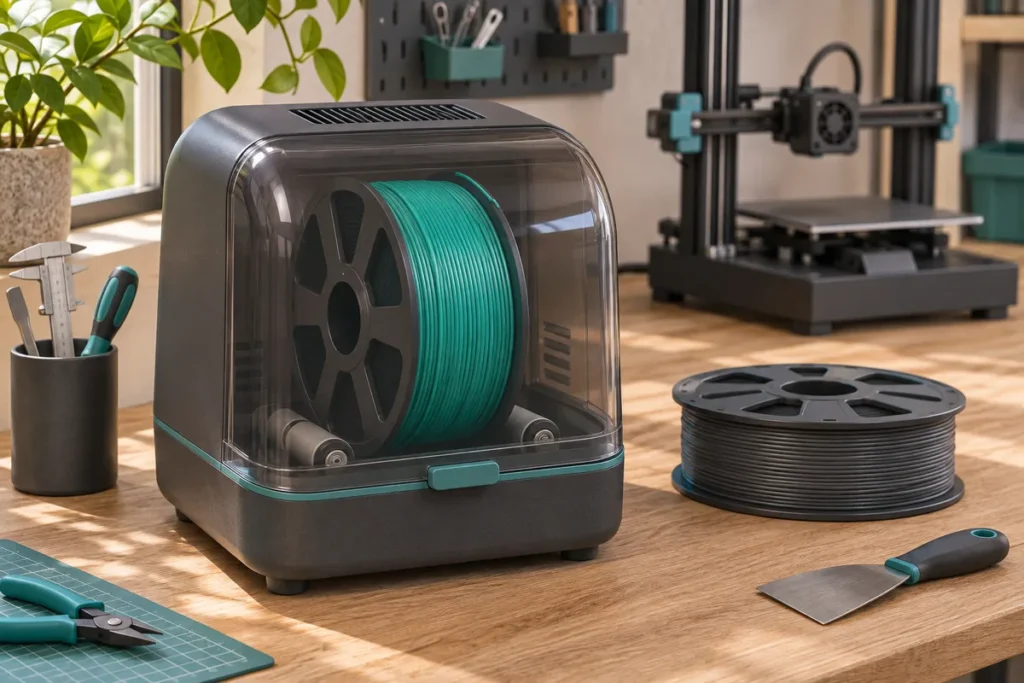
A dedicated filament dryer is a straightforward option. Check the instructions for your exact PLA and spool before setting the temperature. Both have heat limits, and drying guidance can differ even between two spools labeled PLA.
This guide draws on manufacturer documentation. The drying cycles and test prints described here have not been independently tested for this article.
Does your PLA need drying?
PLA can absorb moisture during storage. It generally needs drying less often than more moisture-sensitive materials such as nylon. Listen for popping or crackling during extrusion and look for small bubbles, an uneven finish, or new stringing on a spool that previously printed well. A change in how the same spool prints is more informative than any one symptom. Prusa’s filament drying guide
Check for a settings or feeding problem
- Stringing alone. Check nozzle temperature, retraction, and travel settings. Change one setting at a time and stay within the filament maker’s print temperature range. Prusa’s stringing and oozing guide
- Blobs at the same spot on each layer. Check whether they line up with the seam in the slicer preview.
- Thin lines or gaps across several spools. Check that the spool unwinds freely and look for a feeding problem or partial clog.
If you have a known-good spool of the same PLA, try the same small print with it. A clean result narrows the problem to the original spool or how it feeds. Inspect the spool for snags or damage before running a drying cycle.
Choose a drying method
Dedicated filament dryer. Look for a model that fits your spool and supports the drying cycle its maker specifies. A timer helps, and some dryers can also feed filament to the printer. Follow your model’s instructions for vents or moisture discharge. Prusa’s filament drying guide
Printer-compatible dryer. If you already have a drying-capable feeder, check its manual for spool fit, power, and when it can dry. For example, the Bambu Lab AMS 2 Pro can run a drying cycle with spools inside. Bambu’s H2C manual says drying is disabled for AMS units involved in the active print. Its 65 °C maximum is a device limit. Use the drying setting for your filament. Bambu Lab H2C user manual, filament chapter
Dedicated dehydrator. A dehydrator used for filament can work if the spool fits without blocking airflow and the unit can hold the required temperature. If you’re unsure about its temperature control, check it near the spool with a separate thermometer before committing to a full cycle. Prusa’s filament drying guide
Kitchen ovens and heated beds. Skip the kitchen oven for PLA if it cannot hold the specified low temperature steadily. Temperature swings can soften the filament or make adjacent turns stick. Use a heated bed only if your printer and filament makers document a compatible procedure. A heatbed setting describes the bed, so follow the procedure for that setup. Prusa’s drying guidance · Bambu Lab PLA Basic technical data sheet
Dry the spool step by step
1. Check the filament and spool limits
Find the exact PLA formulation on the box or spool label, then check the manufacturer’s product page or data sheet for its drying cycle. Confirm the spool itself can tolerate that temperature. Spool construction can change even within the same brand. If the limits are unclear, check with the manufacturer before heating it. Prusa’s guide to spool types and drying
| Exact filament | Published drying setting | Manufacturer source |
|---|---|---|
| Prusament PLA or rPLA | 45 °C (113 °F) for 6 hours | Prusa drying guide |
| Polymaker PolyLite PLA | 55 °C (131 °F) for 6 hours | PolyLite PLA product specifications |
| Bambu Lab PLA Basic | 50 °C (122 °F) for 8 hours in a blast drying oven | Bambu Lab PLA Basic technical data sheet |
Bambu lists 60–70 °C (140–158 °F) for 12 hours separately for the X1 Series printer heatbed. The two settings refer to different equipment. Use the one documented for your setup. Bambu Lab PLA Basic technical data sheet
2. Set up the dryer
Place the spool as shown in the dryer manual and secure the loose end so it can’t unwind. Set any vents the way the manual specifies and leave the airflow paths clear. If you’re checking chamber temperature with a separate thermometer, keep its probe away from direct contact with the heating element and spool.
3. Run the recommended cycle
Set the temperature and timer for your exact PLA and drying method. Avoid increasing the heat or extending the cycle beyond the manufacturer’s guidance. Excess heat can stick filament turns together or deform the spool, leaving you with a feeding problem even if the filament is dry. When the cycle ends, follow the dryer manual for handling the spool and move it to the printer or sealed storage. Prusa’s drying temperatures and spool guidance
Check whether drying helped
- Choose a small print that shows the problem, such as a two-tower stringing test. Print it before drying and keep the sample.
- Dry the spool using the recommended cycle.
- Print the same file again on the same printer, with the same profile and settings.
- Compare the surfaces and strands under the same light. Listen for popping on both runs.
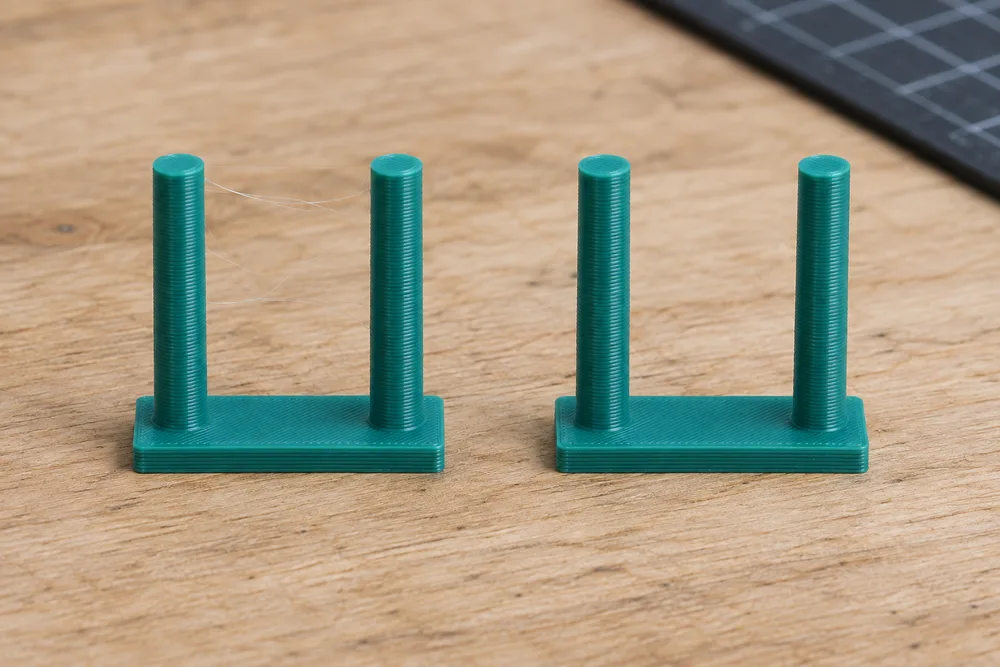
If popping subsides and the surface improves, moisture was likely part of the problem. If the strands remain, check the slicer settings. If you see little change, verify the dryer reached the intended temperature and revisit the other likely causes before repeating the cycle. Adjust one variable at a time so you can tell which change helped.
Keep PLA dry between prints
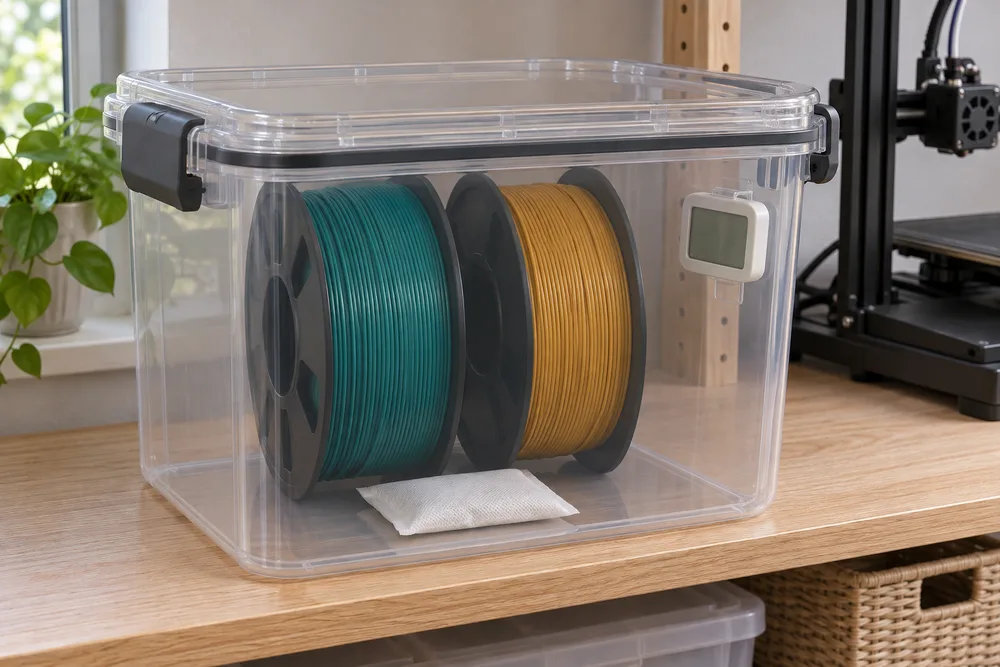
An active dryer removes moisture from a damp spool. A sealed box or bag with desiccant helps keep a dry spool from picking up more. Keep the seal clean, and replace or recharge the desiccant according to its instructions. A hygrometer can show whether the air in the box is getting more humid. Check the seal and desiccant if it rises. Prusa’s filament storage guidance
Consider drying again if moisture symptoms return, particularly after the spool has sat in humid air. If it still prints cleanly, keep it sealed between jobs. For more on choosing materials for your projects, see the PLA, PETG, ABS, and TPU filament comparison.