
We may earn money or products from the companies mentioned in this post.
Cords slide behind the desk, a clip pops off the edge, and the one you printed last week is either too loose or so tight it cracks. Most of this comes from picking a design before looking at the cable, the surface, and the spot where it will live.
This guide covers how to match the design to the job, what to measure, which filament to use, and how to mount everything. It focuses on external cables around a desk, workbench, or printer station.
Match the design to the job
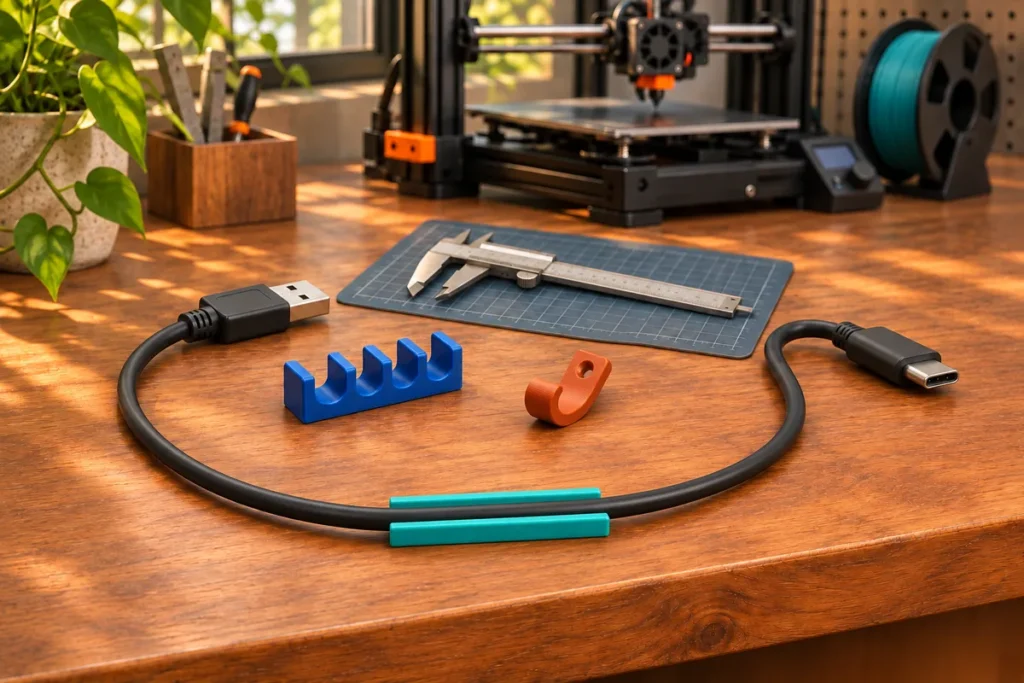
Three basic shapes cover most desks and workbenches. Start with what the cable needs to do.
Edge clips for loose cords
An edge clip keeps a lightweight charging or USB cable from sliding off a desk or shelf. Compare the thickness and shape of the desk edge with the clip’s stated fit range. A rounded or beveled edge may need a different design from a square one.
Combs for parallel runs
A comb holds several cables in separate slots. An open-slot design makes it easier to add or remove a cable without threading its plug through a hole.
Guides and channels for under the desk
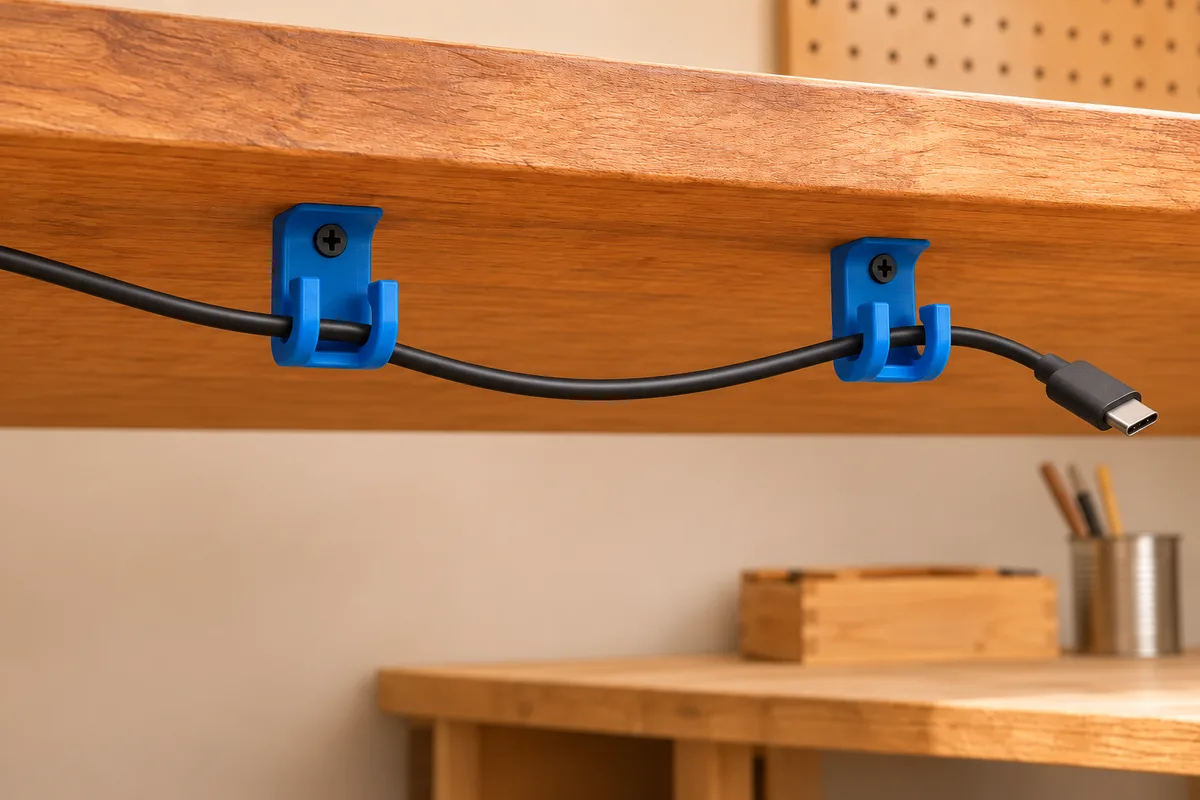
Guides, shallow trays, and J-hooks can route lightweight cables beneath a desk. Leave some slack in the cable. Use the equipment manufacturer’s mounting hardware or a rated support for power strips, adapters, and heavy bundles.
| Job | Shape to consider | What to check |
|---|---|---|
| One or two loose cords at the edge | Edge clip | Desk edge thickness and shape |
| Several leads side by side | Open-slot comb | Slot width for each cable |
| Several lightweight leads beneath the desk | Shallow guide or tray | Room for the cables and access to plugs |
| One or two thin cords beneath the desk | J-hook | A wide enough opening for the cables |
Quick tip: If the loose length pulls a cord behind the desk, add a second support farther along and leave slack at the connector.
Look for a model with stated dimensions or an editable design file. Check the cable slot and mounting dimensions before printing.
Measure before you pick a model
Measure the cable, its connector, and the surface before you choose a model.
Cable diameter
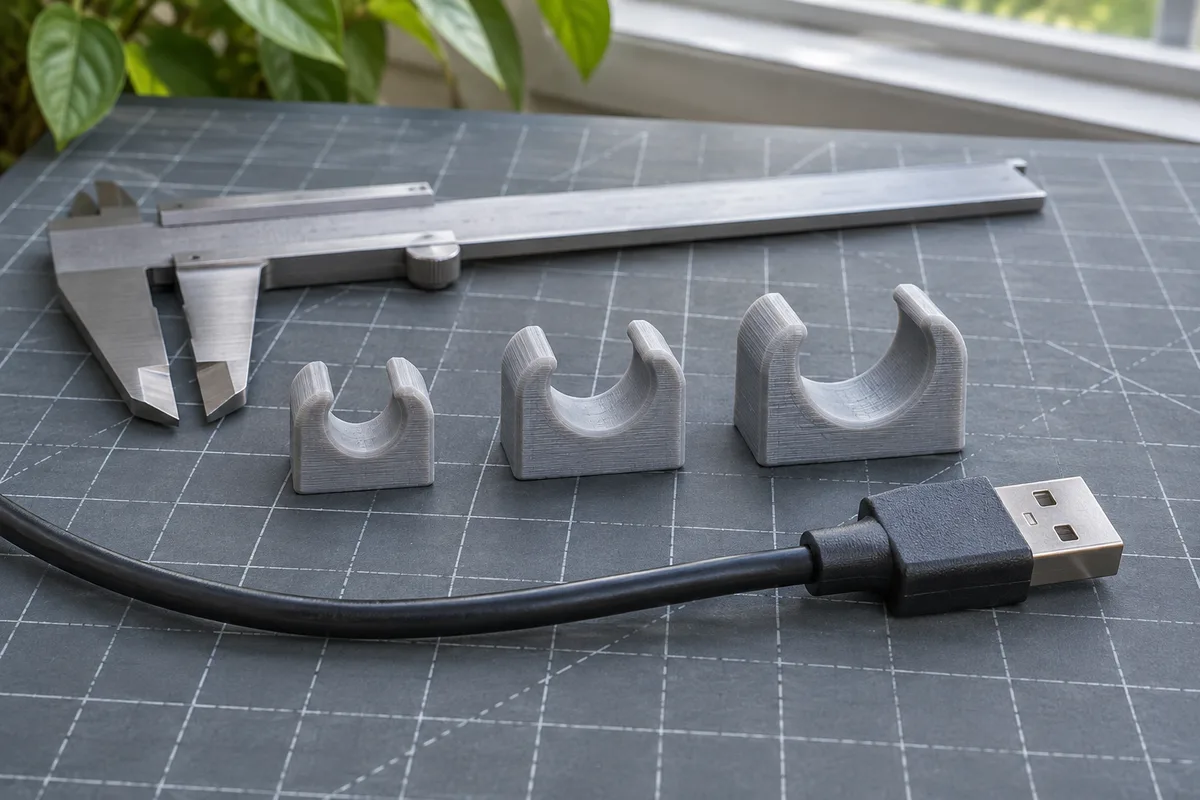
Measure the jacket where it will sit in the clip. If the cable is flat or oval, check both dimensions. Calipers can help you compare the cable with the model’s slot width.
Connector clearance
A slot sized for the cable may be too small for the plug. Measure the widest part of the connector and its strain relief. Choose an open guide if the plug cannot pass through a closed opening.
Bundle size
Several round cables can leave gaps when they sit together. Measure the bundle loosely and leave enough room to add or remove a cable without squeezing the others.
Mounting surface
Check the thickness and shape of the edge, whether the underside is flat, and what material the mount will touch. If you plan to use adhesive, check that the mount is rated for both surfaces and the intended load.
Fit tip: Allow room for print tolerances and check the fit with a sample. If the model is adjustable, change the slot separately so the mount and screw holes keep their intended dimensions.
Compare PLA, PETG, and TPU
The best choice depends on whether the holder needs to stay rigid or flex when you insert a cable.
PLA
Standard PLA is a reasonable starting point for rigid combs and holders at room temperature. Thin arms can crack when repeatedly flexed, and standard PLA has limited heat tolerance. Keep printed holders away from heaters, hot printer parts, and power supplies.
PETG
PETG is worth considering for a clip arm designed to flex during insertion. The exact filament, shape, and print orientation affect how it behaves. Check the grade’s data and try a sample before relying on a clip that will flex often.
TPU
TPU can work for a soft holder or a flexible insert. Check the grade’s hardness and confirm your extruder supports it. A flexible holder still needs a slot large enough to avoid pinching the cable.
| Filament | Part feel | Where to consider it | What to check |
|---|---|---|---|
| Standard PLA | Rigid | A fixed comb at room temperature | Clip arms that need to flex repeatedly |
| PETG | Usually rigid with some give | An edge clip designed to open during insertion | Grade, arm geometry, and print orientation |
| TPU | Flexible, depending on grade | A soft insert or light cable grip | Supported hardness and slot fit |
Design matters as much as material
Wall thickness and print orientation affect how a clip responds when you flex it. Follow the model’s printing guidance and check a sample in the direction it will bend. For more on material selection, see our 3D printer filament comparison.
Cover tape, screws, and clamp mounts
Choose a mount that suits the desk and the job.
Double-sided tape can work for light organizers where the adhesive maker approves the surface, orientation, and load. Follow its cleaning and application instructions for both the desk and printed part. Check the removal guidance before using tape on a finish you want to protect.
Screws suit a clip designed with mounting holes when the desk material supports a fastener. Check the screw length against the panel thickness and match the screw heads to the design. Tighten only enough to secure the clip without cracking it.
Clamp mounts grip a compatible desk edge without adhesive or drilled holes. Match the opening to the edge thickness and shape. For glass or fragile finishes, use hardware approved by the furniture maker.
Print one clip first
Before you print a batch, check four things with a single clip:
- The loose cable goes into the slot without force.
- The clip retains the cable without denting its jacket.
- The mount stays in position when you insert and remove the cable.
- The plug fits through any opening it needs to pass through.
A small test piece can help check slot dimensions. Use a full clip to check the mount and how the arm flexes. When it fits, record the settings and dimensions for the batch.
Routing checklist
Before routing the whole desk, check the first cable in its intended position.
- Leave slack at connectors. Support the cable along its run and leave a gentle curve at the plug.
- Keep bends gradual. Route around sharp edges and away from pinch points.
- Hold without squeezing. If the jacket dents or the cable needs force to seat, enlarge the slot or use a different design.
- Keep the printer’s moving area clear. Route desk cables outside the bed and toolhead travel area. Follow the printer maker’s procedure to check clearance and keep factory cable routing and strain relief in place.
- Leave equipment space. Keep cords and clips away from hot surfaces and air vents. Follow the manufacturer’s instructions for power cords and adapters.
- Leave room to unplug. Keep connectors accessible and label similar leads if needed.
- Recheck the mount after use. Look for loosening, marks on the cable jacket, or clips that have shifted.
Scope: These clips organize lightweight external desk cables. Keep the printer’s wiring and electrical components in their factory configuration.
Wrapping up
Good cable management comes down to three habits. Measure first, print one test piece, and choose the material for the spot where the clip will sit.
Start with the one cord that annoys you most. Pick the shape that fits it, print a single clip, and see how it holds.
Once that works, repeat the process across the rest of the desk.
Sources and Research Method
This guide uses manufacturer documentation and CPSC guidance checked on November 10, 2026. The images illustrate example setups. No hands-on testing or load ratings are reported for the illustrated clips.