
We may earn money or products from the companies mentioned in this post.
A printer’s listed dimensions are only the beginning of a workspace check. Add a moving bed, a spool, and the room needed for cables and maintenance, and the setup can take more space than you expected.
This guide compares the Bambu Lab A1 mini, Bambu Lab A1, and Creality Ender-3 V3 SE for a small desk, shelf, or shared workbench. The A1 mini deserves the first look when space is tight. The larger machines become more appealing when your projects need a wider plate or more height.
The comparison uses manufacturer documentation checked on November 10, 2026. Some published overall dimensions conflict, so those differences are identified below. Hands-on measurements were not performed for this guide. The images are illustrations, and the printer pictured is generic.
Measure Your Workspace
Grab a tape measure before choosing a printer. Record the available width, depth, and height, then check the manufacturer’s setup instructions for the complete arrangement you intend to use.
Desk depth and bed movement
All three printers move the bed forward and backward. Keep that entire path clear, including the bed’s cable and any part of the print that projects beyond the bed’s resting position. Check the setup diagram and moving components rather than adding an arbitrary allowance to the machine’s quoted depth. Bambu Lab A1 mini setup guide · Bambu Lab A1 setup guide
Support the printer’s feet on a sturdy, level surface. Leave room to remove the build plate and reach the controls. A deep alcove can still be awkward if you have to lift the printer out whenever you change filament or clear a jam.
Width, height, and the spool
Check the installed spool holder, the spool itself, and the route into the toolhead. A top-mounted spool needs room above it for removal. A separate spool holder or AMS lite needs its own space beside the printer. Measure the complete arrangement with the filament path in place.
Leave access to the side and rear connections, and follow the cable routing shown in the manual. A wall or shelf should not pinch a cable or obstruct its movement. The Ender-3 V3 SE assembly instructions also show the spool rack and its installation, which should be included in your space check. Creality Ender-3 V3 SE user manual
Try a cardboard layout
Cut a cardboard rectangle to match the published dimensions you are checking. Set it on your desk, then mark a larger working area with tape using the manufacturer’s setup diagram and the planned spool position. Keep separate room for removing prints and reaching the connections.
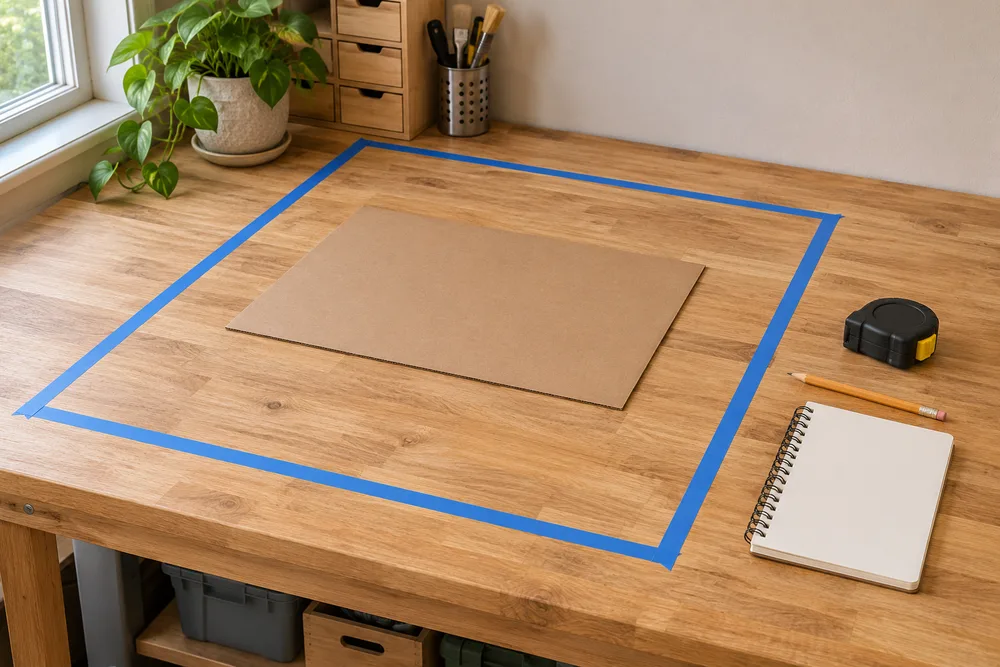
Before buying, resolve any uncertain clearance with the manufacturer or seller. A paper layout helps you see the arrangement, but the machine’s moving parts still need their documented operating space.
Compare Footprint and Build Size
The table lists build volumes and published overall dimensions. The dimensions describe different manufacturer documents and should be checked against the exact configuration being purchased. They do not establish the total space required during operation.
| Printer | Published build volume | Published overall dimensions | Main workspace check |
|---|---|---|---|
| Bambu Lab A1 mini | 180 × 180 × 180 mm | 347 × 315 × 365 mm, W × D × H | Bed movement, external spool, filament path, and optional AMS lite |
| Bambu Lab A1 | 256 × 256 × 256 mm | 465 × 410 × 430 mm, W × D × H, in the linked A1 guide | Bed movement, rear cable, spool placement, and optional AMS lite |
| Creality Ender-3 V3 SE | 220 × 220 × 250 mm | 420 × 366 × 490 mm, in Creality’s product specifications | Bed movement, top spool rack, and room to load and remove a spool |
Sources for the table are the A1 mini guide, A1 guide, and Creality product specifications.
Two differences matter when measuring a tight space. Another official A1 guide lists 385 × 410 × 430 mm. Creality’s comparison blog lists 349 × 364 × 490 mm for the SE, while its product specifications and model comparison page use 420 × 366 × 490 mm. The documents do not fully explain these differences. Confirm what each measurement includes before ordering a printer for a close-fitting location. Alternate A1 guide · Creality comparison blog · Creality model comparison
What the numbers mean for your choice
The A1 mini is the compact starting point. Its listed machine dimensions are smaller in each direction than the other two table entries. Its 180 mm build cube is also the most restrictive, so check your likely projects before choosing it.
The A1 gives you substantially more build space. Its 256 mm square build area is about twice the area of the A1 mini’s 180 mm square. The nominal build volume is about 2.88 times as large. Those are calculations from the published build dimensions. Whether that extra capacity is useful depends on the sizes of the parts you print.
The Ender-3 V3 SE falls between them in build size. Its 220 mm square plate and 250 mm build height offer more room than the mini. The published dimensions above make it taller than both Bambu machines. Avoid dismissing it as the widest option, given the conflicting A1 and Creality measurements.
The existing A1 mini vs. A1 comparison covers the choice in more detail. You can also read the individual A1 mini review, A1 review, and Ender-3 V3 SE review.
Accessories can change the fit
An AMS lite, separate spool stand, purge-waste container, or storage box adds to the workspace. Include the accessories you actually plan to use in your layout, and keep them clear of moving parts.
If ABS or ASA is central to your plans, compare machines designed for those materials before buying around a compact footprint. Both linked Bambu guides list those materials as not recommended for the A1 and A1 mini. Our enclosed printer comparison provides another starting point. A1 material guidance · A1 mini material guidance
Match Build Size to Your Projects
Use your slicer to check the whole print arrangement. The model’s dimensions are part of it. Brims, skirts, supports, and other required features also need room.
Brims and supports
A brim extending 5 mm from both sides of a model adds 10 mm to its footprint in that direction. As a simple example, a 175 mm wide part with that brim needs 185 mm of width, which exceeds a 180 mm build width. A 150 mm square tray with the same brim needs 160 × 160 mm before any other requirements are considered.
Supports may reach outside the model, and a multicolor print may need a prime tower. Select the correct printer profile, slice the complete job, and inspect the preview. There is no single margin to subtract from every printer’s build volume. Check height separately from plate area.
Real project examples
| Project | What to check |
|---|---|
| Cable clips and small brackets | Overall size, brim, and how many copies fit with spacing |
| Drawer organizers | Outside tray dimensions and any supports or brim |
| Phone stands | Orientation, overhang supports, and finished height |
| Large trays and enclosures | Whether the whole part fits in one piece or can be divided |
| Tall vases or display models | Height in the chosen orientation and bed adhesion |
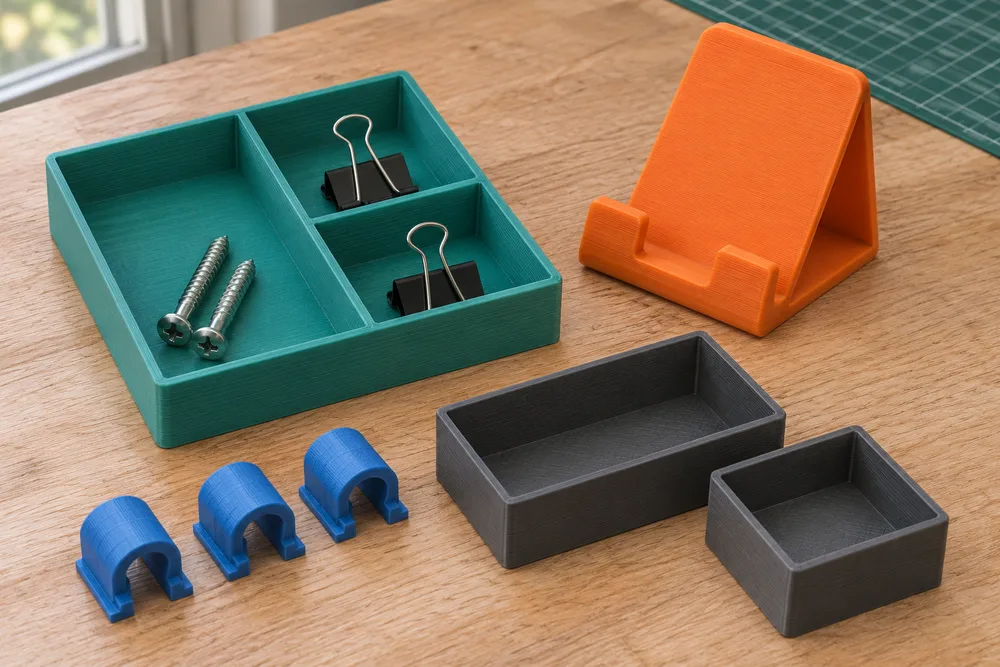
A 200 mm square organizer exceeds the A1 mini’s nominal 180 mm square build area when laid flat in the usual orientation. It is within the listed plate dimensions of the A1 and Ender-3 V3 SE, but the complete sliced job still needs checking. A modular organizer can let you build a larger arrangement from smaller sections.
Rotate or split a model when practical
Try rotating a long, narrow model on the plate. A diagonal placement can help, but a part has width as well as length. Verify the full outline, supports, and brim in the slicer before relying on a diagonal fit.
Standing a part upright can trade plate area for height. It also changes stability, supports, and the direction of the layer lines. Choose an orientation that suits the finished part’s use.
Splitting a model can make a large display piece or organizer possible on a smaller machine. Alignment features can help the sections fit together. Choose an adhesive compatible with the printed material and follow its instructions. For a bracket, handle, or other part carrying load, assess the joint and print orientation before relying on the assembled part.
Choose Based on What Limits You
Start with the A1 mini when your projects are small and the workspace is tight. Check the spool arrangement and bed path before deciding that it fits a shelf or desk corner. A smaller printer is a practical choice when the files you want already fit its build area.
Consider the A1 when larger parts are a regular requirement. A wider plate can mean fewer split models and more room for supports or multiple parts. Confirm the full operating arrangement and resolve the published width difference before buying furniture around it.
Compare the Ender-3 V3 SE when its build size and current offer suit you. Check the installed spool rack height and bed movement alongside the other machines. Compare the actual delivered prices, included accessories, and setup requirements instead of assuming a fixed price ranking.
List five projects you want to make, check them in the appropriate slicer profiles, and map the complete printer setup on your desk. That combination tells you more than either the machine dimensions or build volume alone.