
We may earn money or products from the companies mentioned in this post.
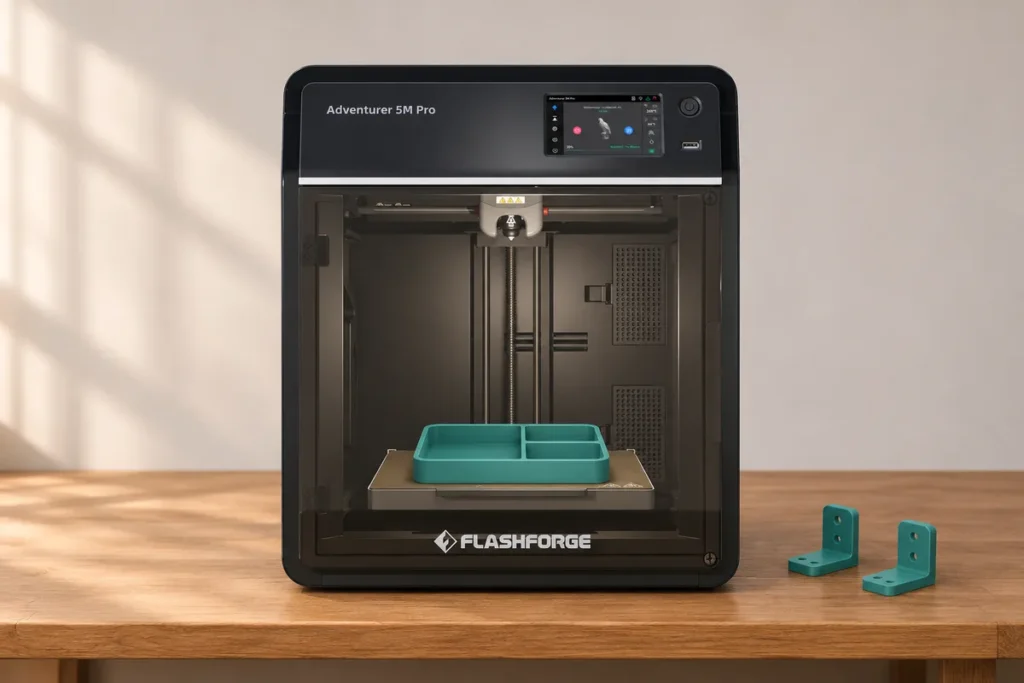
The Flashforge Adventurer 5M Pro deserves a place on your shortlist if you want an enclosed printer for organizers, brackets, project boxes, and prototypes. Its appeal is a combination of automatic leveling, a touchscreen, a camera, and nozzle assemblies that are easy to replace.
The buying decision comes down to whether you need the Pro’s enclosure and filtration, whether your projects fit its 220 mm build cube, and how well its current software workflow suits you. The plain Adventurer 5M shares several core features, so compare the actual package before paying extra.
This review uses manufacturer documentation checked on November 10, 2026. It includes no hands-on print-quality, noise, reliability, or emissions measurements. Images are illustrations, with the featured printer image based on a manufacturer reference.
Overview and Who Should Consider It
The Pro is an enclosed CoreXY FDM printer with one direct-drive extruder. It suits a single-filament workflow where practical part size and convenient operation matter more than automated color changes. Flashforge lists a 220 × 220 × 220 mm build volume. Check your model with its supports and brim in the slicer before deciding it fits. Official Adventurer 5M Pro specifications
For larger one-piece parts or automated multicolor printing, compare the complete cost and capabilities of another setup. The Bambu Lab P1S vs. Adventurer 5M Pro comparison covers that decision in more detail.
Build Volume, Operating Space, and Materials
Specifications at a glance
| Specification | Published value |
|---|---|
| Structure | Enclosed CoreXY |
| Build volume | 220 × 220 × 220 mm |
| Device dimensions | 380 × 400 × 453 mm, excluding spool holder |
| Extruder | One direct-drive extruder |
| Maximum nozzle temperature | 280 °C |
| Bed temperature | Store page lists 100 °C; linked manual lists 110 °C |
| Nozzle sizes listed | 0.25, 0.4, 0.6, and 0.8 mm |
| Build plate | Removable flexible PEI steel plate |
| Display | 4.3-inch touchscreen |
| Connectivity | Wi-Fi, Ethernet, and USB |
| Monitoring | Camera, filament run-out reminder, and power-loss recovery |
Sources are the Flashforge product page and Adventurer 5M Pro manual. These are published specifications, not measurements made for this review.
The bed-temperature discrepancy needs confirmation for the unit being purchased, particularly if a material depends on a temperature above 100 °C. Do not assume the higher figure applies to every current package. Store specification · Manual specification
Allow room around the enclosure
The quoted device size excludes the spool holder. You also need access to the door, top cover, rear connections, and filament. The linked manual asks for at least 35 cm around the front, back, left, and right sides, as well as a dry, well-ventilated location. Check that guidance against your planned desk or shelf. Equipment placement requirements
Match the nozzle and filament
Flashforge lists PLA and PETG with the 0.4 mm nozzle, ABS and ASA, and TPU plus PLA-CF/PETG-CF with larger nozzle options. Confirm the exact nozzle assembly, filament profile, and drying requirements for your material. A nozzle’s temperature limit alone does not establish compatibility with every engineering filament. Material specifications
Enclosure and Filtration
Flashforge describes internal and external circulation with HEPA and activated carbon filters. Its brochure identifies HEPA13 and markets a 99% particle-and-VOC blocking figure. That percentage is a manufacturer claim. This review has no independent measurements establishing emissions in an occupied room. Flashforge Adventurer 5M series brochure
Plan the location around the material, ventilation, and people using the room. NIOSH recommends ventilation and exposure controls for desktop 3D printing, including models with built-in filtration. An enclosure and filter are useful features to evaluate alongside those controls. NIOSH guidance for makerspaces and small businesses
Setup and Daily Workflow
Unbox, calibrate, and load filament
Use the setup sequence for your unit to remove shipping restraints, install the remaining parts, and complete calibration before the first job. The manual covers touchscreen filament loading and automatic leveling. Run leveling again after changing a nozzle. Keep the build plate clean and use the plate-specific adhesion instructions. Adventurer 5M Pro setup and maintenance manual
Check the current slicer and network options
Flashforge now calls its manufacturer slicer Flash Studio Desktop, formerly Orca-Flashforge. The current download page lists the Adventurer 5M Pro and describes both cloud transfer and LAN Only Mode. It also documents camera monitoring and controls for the Pro’s chamber light and circulation fans. Flash Studio Desktop download and features
The product page still lists older software names, so use the current download and support documentation when choosing a version. Install the correct printer and nozzle profiles, then check which sending and monitoring functions your chosen slicer supports. Comments about an older software release may be less useful than instructions for the version you will use.
The manual also documents printing sliced files from a USB flash drive. That gives you another way to transfer a job if you prefer a local workflow. Printing methods in the manual
Print Capabilities and Ownership Costs
Treat speed as one setting in a complete profile
Flashforge advertises 600 mm/s in its marketing and labels 600 mm/s as maximum travel speed in the specifications. Neither number establishes the time or quality of a particular print. Check the sliced job’s estimated time with the intended material, layer height, walls, supports, and quality settings. Published speed specifications
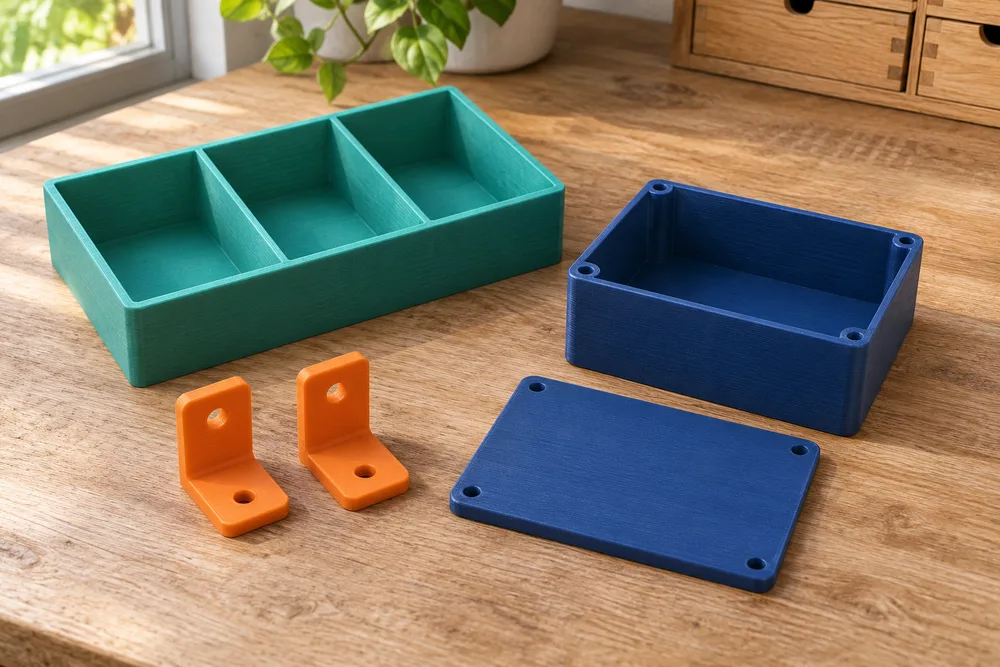
A nozzle change can help match the printer to a project. Larger extrusion widths can suit substantial parts, while a smaller nozzle can suit finer features. The result still depends on the profile and model. Flashforge sells a shared AD5M-series nozzle assembly for both the 5M and 5M Pro, with four diameters listed. Official nozzle assembly and compatibility
Budget for parts and routine care
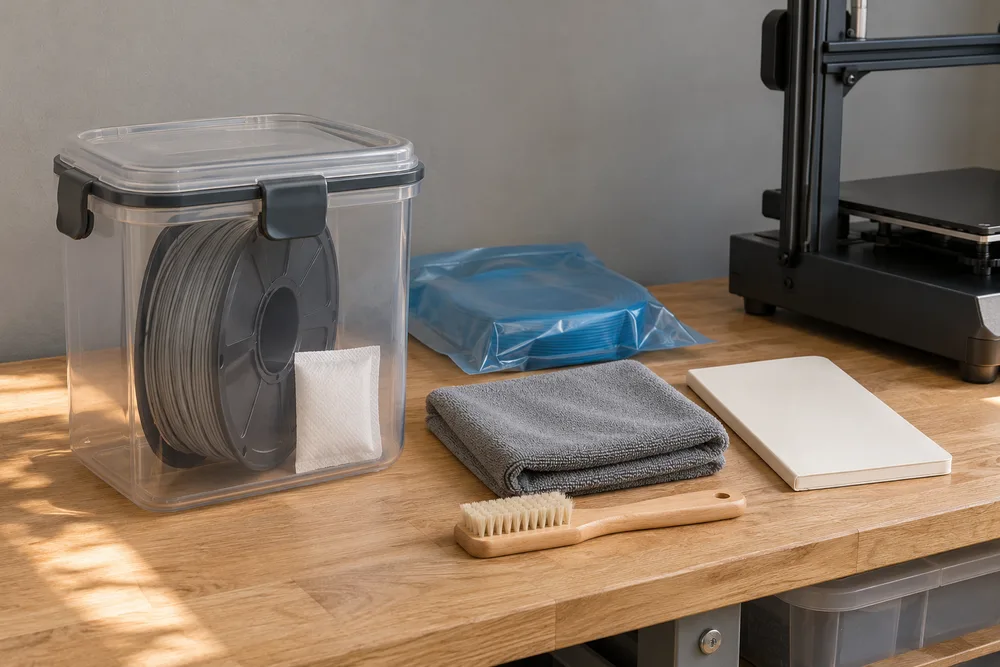
Include replacement nozzle assemblies, build plates, filtration supplies, filament, and storage in the ownership budget. Check availability and the correct part number before buying spares. Electricity costs depend on actual consumption and printing hours.
The linked manual specifies guide-rail lubrication after 200 printing hours and filter replacement after 300 hours or when the filter darkens. Follow its plate-cleaning instructions and the procedure for powering down before nozzle replacement. Maintenance instructions
Price snapshot
On November 10, 2026, Flashforge’s US storefront displayed $379 USD for the 5M Pro before tax and any checkout adjustments. Confirm the selected package, final delivered price, return terms, and warranty when ordering. Official US listing
Limitations and Tradeoffs
The 220 mm build cube is a limit for large trays, long enclosures, and tall one-piece models. Test your likely projects in the slicer before buying. If splitting them creates too much assembly work, a larger printer may be a better match.
Treat this as a single-filament machine when planning your workflow. For automatic color changes, compare a system with documented multicolor hardware and include that hardware in the price.
Noise is another room-dependent consideration. Flashforge lists 50 dB in low-noise mode and 55 dB in standard mode. Those are manufacturer figures, and this review has no independent measurement to establish how it will sound at your desk. Published noise figures
The remaining uncertainty is everyday performance. Documentation can establish available features, but this review cannot rate print consistency or current software reliability through direct use. Look for recent tests with disclosed firmware, slicer versions, materials, and print settings when comparing those qualities.
| Reasons to shortlist it | Checks before buying |
|---|---|
| Enclosure and filtration included | Suitable placement and ventilation for your materials |
| Automatic leveling and touchscreen operation | Setup and maintenance still required |
| Shared quick-swap nozzle family | Correct diameter and assembly for the filament |
| Several transfer and monitoring options | Functions supported by the chosen software version |
| Compact enclosed build area | Full project size and required working clearance |
Compare the Adventurer 5M and Bambu Lab P1S
Adventurer 5M
The standard 5M shares the 220 mm build cube, automatic leveling, and nozzle-assembly family. Its base configuration is open, with an enclosure kit and camera available separately. The Pro packages the enclosure, filtration, and camera together. Compare the complete configurations you would actually use. Adventurer 5M specification · Shared nozzle assembly · Camera compatibility
Bambu Lab P1S
The P1S offers a 256 × 256 × 256 mm build volume and uses Bambu Studio. It also supports an AMS multicolor setup, with the required hardware depending on the package. That makes build size and the planned filament workflow more useful comparison points than headline speed alone. P1S specifications · Bambu Lab’s AMS support announcement
Read our P1S review and P1S vs. Adventurer 5M Pro comparison for the broader comparison. Check current delivered prices for comparable packages before deciding which offers better value.
Verdict
The Adventurer 5M Pro is worth considering when you want an enclosed, single-filament machine and your projects fit its build area. The enclosure, camera, and filtration are the main reasons to compare its complete package with the standard 5M.
Check the current software workflow, the bed-temperature discrepancy, maintenance supplies, and your available operating space before ordering. For larger one-piece parts or automated color changes, the P1S comparison is a useful next step.