
We may earn money or products from the companies mentioned in this post.
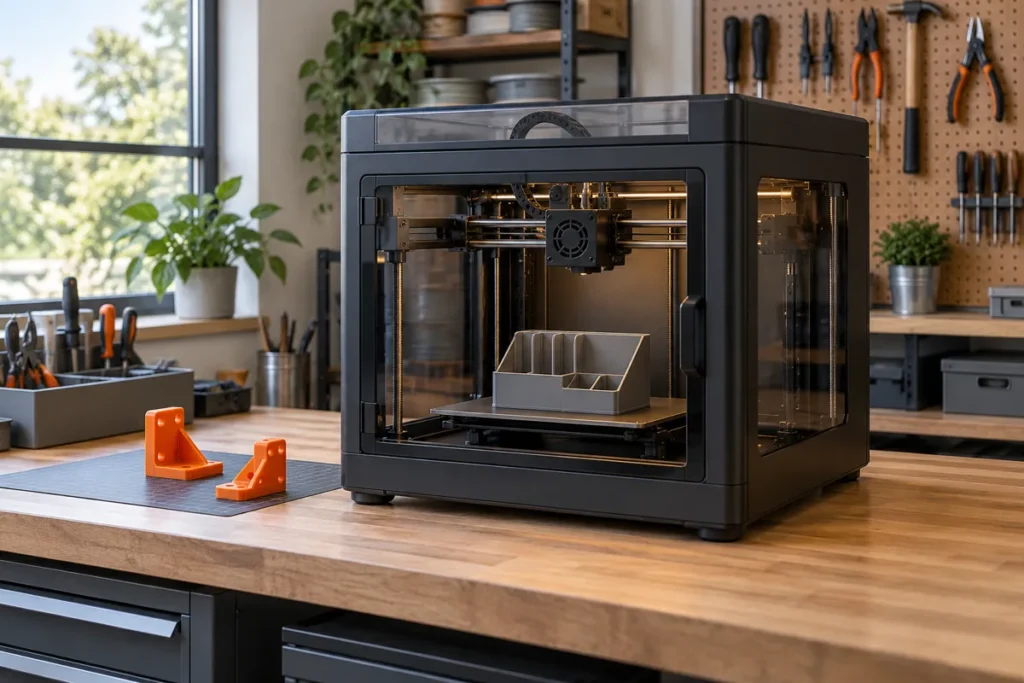
An enclosed printer can help control drafts, but choosing one still means balancing project size, material requirements, workspace, and ownership costs. Buying more build volume than you need can waste desk space; buying too little can mean dividing every larger project into sections.
This comparison covers the Bambu Lab P1S, Creality K1 Max, and Flashforge Adventurer 5M Pro. It is a research-based shortlist, with no hands-on testing or independent performance measurements. It is not an exhaustive ranking of current enclosed printers.
For a quick starting point, compare the P1S if a 256 mm build area and optional automatic material switching fit your plans. Compare the K1 Max when your parts need a larger 300 mm cube. Consider the 5M Pro when a 220 mm cube is sufficient and its current purchase package meets your needs. These are recommendations based on documented features, rather than tested reliability or print-quality rankings.
If you are still deciding whether you need an enclosure, start with our guide to 3D printers for beginners.
What an enclosure does—and what it does not
All three models surround the print area with an enclosure. Their specifications do not list a dedicated, actively heated chamber. A chamber fan or retained bed heat is not the same as a controlled chamber heater.
An enclosure can reduce exposure to room drafts, but it does not make every filament suitable or guarantee warp-free parts. Follow the printer and filament manufacturers’ guidance for the exact material, nozzle, build surface, temperature settings, and enclosure configuration.
Do not assume every material should be printed with the door and lid closed. Check the relevant operating guidance, including any instructions about releasing heat for lower-temperature filaments.
Built-in filtration is also not proof that emissions are eliminated. Plan the installation around the manufacturer’s environmental and ventilation instructions; a closed box is not a substitute for those instructions.
Comparison table for quick reference
These are manufacturer reference specifications. Dimensions describe the machine body, rather than a complete operating-space allowance. Confirm the exact current configuration before ordering.
| Model | Nominal build volume | Listed machine dimensions | Monitoring and file transfer | Listed filtration |
|---|---|---|---|---|
| Bambu Lab P1S | 256 × 256 × 256 mm | 389 × 389 × 458 mm | Basic chamber camera; Wi-Fi and microSD | Activated carbon |
| Creality K1 Max | 300 × 300 × 300 mm | 435 × 462 × 526 mm | AI camera; Wi-Fi, Ethernet, and USB | Built-in air filters |
| Flashforge Adventurer 5M Pro | 220 × 220 × 220 mm | 380 × 400 × 453 mm, excluding spool holder | Camera; Wi-Fi, Ethernet, and USB | HEPA plus activated carbon; internal and external circulation |
Sources: P1S technical specifications, P1S quick-start guide, Creality K1 Max specifications, and Flashforge’s product specifications.
US price observations
On October 30, 2026, the official Creality US store displayed $549 for the option labeled K1 Max 2025 AI Fast 3D Printer. Flashforge’s US product page displayed $379 for the 5M Pro and an add-to-cart option. These are dated page observations, not delivered-price or stock guarantees. Confirm shipping, taxes, selected options, and current availability at checkout.
The Bambu US store could not be retrieved for this review, so a current US P1S price, bundle, and stock position are not confirmed. That prevents a complete price ranking across the three models. Check the Bambu US listing, Creality US listing, and Flashforge listing before buying.
Bambu Lab P1S: a middle-size option with material-switching choices
The P1S sits between the other two machines in nominal build size. Its documented 300°C hotend and 100°C bed limits are hardware specifications, not a promise that every filament within those temperature ranges will print successfully.
Bambu’s reference specifications list common materials such as PLA, PETG, ABS, and ASA, while distinguishing PA and PC as capable materials. That wording should not be translated into a guaranteed result—or a blanket prohibition. Check the specific filament guidance.
The standard specification lists a stainless-steel nozzle and does not recommend carbon- or glass-fiber-reinforced polymers. Check the required nozzle and extruder components before planning abrasive-material use.
Workflow and optional AMS
The P1S quick-start guide shows Bambu Studio for slicing, sending jobs, and monitoring. This establishes the documented workflow; it does not establish that it is easier or more reliable than competing software.
An optional compatible AMS can automate filament switching. Confirm the exact AMS generation, connection equipment, firmware, and bundle contents rather than treating all AMS products as interchangeable. The original AMS has its own filament and spool restrictions. Printer-compatible filament is not automatically AMS-compatible.
Automatic switching can be useful for suitable multicolor or support-material jobs, but it adds equipment, material changes, and potential purge waste. Compare a complete compatible package with a single-spool setup before paying for features you may rarely use.
Main advantage: a middle-size build area with an optional material-switching path. Main limitations: a basic monitoring camera, material-specific hardware requirements, and unconfirmed current US price and availability in this review.
Creality K1 Max: compare it when your projects need more room
The K1 Max offers the largest nominal build area here. Its 300 mm dimension is 44 mm more than the P1S, and 80 mm more than the 5M Pro, along each axis. Whether that matters depends on your model’s orientation, supports, brim, and required clearances.
Creality advertises up to 600 mm/s and describes 300 mm/s as typical. Its published maximum uses specified laboratory conditions. Neither figure is a measured completion time for your project, so do not use it alone to predict which printer finishes first.
The manufacturer documents strain-sensor bed leveling, a separate LiDAR first-layer scanning feature, an AI camera, and network connectivity. These features do not guarantee error-free operation. See Creality’s product documentation and support information.
Space and configuration tradeoffs
The K1 Max body is larger than the other two in this shortlist. Allow additional room for the door, top access, spool placement, cables, and servicing rather than treating the listed dimensions as the required desk size.
The current US store labels its option “2025,” while general K1 Max documentation also remains online. Verify the supplied hotend, nozzle, accessories, and supported upgrades against the exact listing. Do not assume older documentation proves every detail of a newer purchase package.
Main advantage: the largest build area of these three. Main limitations: the larger installation space and the need to match reference documentation to the exact configuration. For more Creality context, see our Ender-3 V3 SE, V3 KE, and K1 Max comparison.
Flashforge Adventurer 5M Pro: a 220 mm option with documented filtration
The 5M Pro has the smallest build cube in this comparison. That can suit smaller organizers, models, and replacement parts, provided their full sliced dimensions fit.
Flashforge lists automatic leveling, a removable PEI plate, a 280°C extruder, camera monitoring, and several file-transfer options. Its manual specifies particular nozzle sizes for some materials, including TPU and listed fiber-filled filaments. Do not interpret its material list as permission to use any composite with any nozzle.
There is a documentation difference worth checking: the current product page lists a 100°C platform, while the linked manual lists 110°C. Confirm the limit for the supplied unit and firmware if your material choice depends on it.
Speed and software need context
Flashforge does advertise 600 mm/s. Its specification table and manual describe that as maximum travel speed, while the manual separately lists printing at 10–300 mm/s. A travel-speed ceiling is not a promise of sustained extrusion at that speed.
Flashforge lists FlashPrint 5, Orca-Flashforge, and Orca Slicer on its product page. Check the supported release and correct printer profile when setting up your workflow.
Main advantage: a smaller build cube with HEPA and activated-carbon filtration documented. Main limitations: less room for large parts, nozzle-specific material guidance, and the platform-temperature discrepancy. Its body dimensions do not establish that it needs the least total operating space.
Choosing by project, material, and workspace
Start with your largest likely part
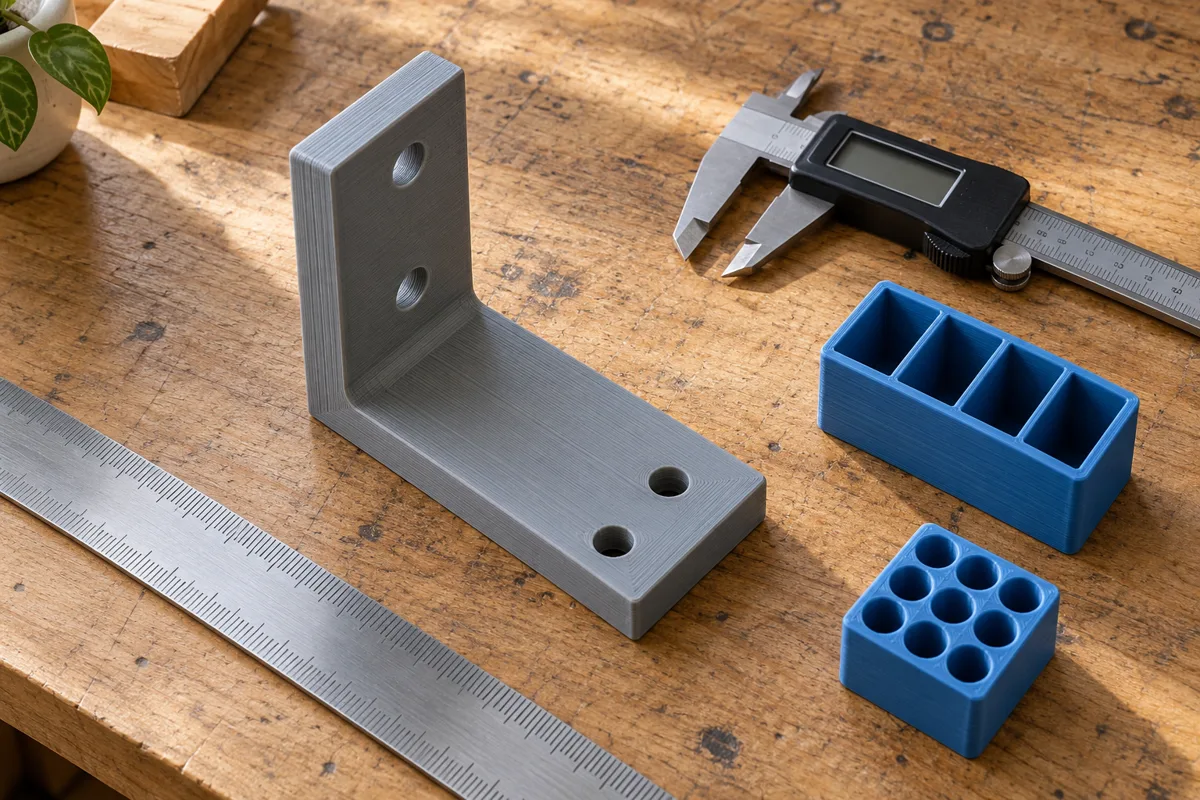
Open representative models in a slicer before choosing a printer. Include their supports and adhesion features. A nominal 256 mm dimension does not necessarily mean a 256 mm part fits in every orientation; Bambu also documents printable-height and cutter-area qualifications.
The K1 Max’s extra room may avoid splitting a particular model, but a properly designed joint can still be useful. Splitting and gluing does not automatically make every finished object unsuitable.
Check materials before speed
Choose the exact filament first, then check the recommended temperatures, nozzle, bed surface, enclosure settings, and drying requirements. An enclosure alone cannot establish suitability for nylon, polycarbonate, or a fiber-filled blend.
For speed comparisons, slice the same model with comparable quality settings and correctly configured profiles. Estimated times are planning aids; actual results still require measurement. No noise, energy-use, or reliability ranking is established by this review.
Measure the operating area
Include spool access, lid removal, open doors, cables, waste handling, and maintenance reach. Add any material system or storage equipment you intend to use. Pick a location consistent with the manufacturer’s operating and ventilation guidance.
Ownership costs beyond the purchase price
Compare complete packages rather than a base printer against another model’s accessory bundle. Check what is included before adding spare nozzles, plates, filters, or material-switching equipment to the budget.
Other potential costs include filament, failed prints, purge waste, cleaning supplies, replacement parts, shipping, and taxes. Maintenance intervals should come from the model’s documentation rather than assumed failure schedules.
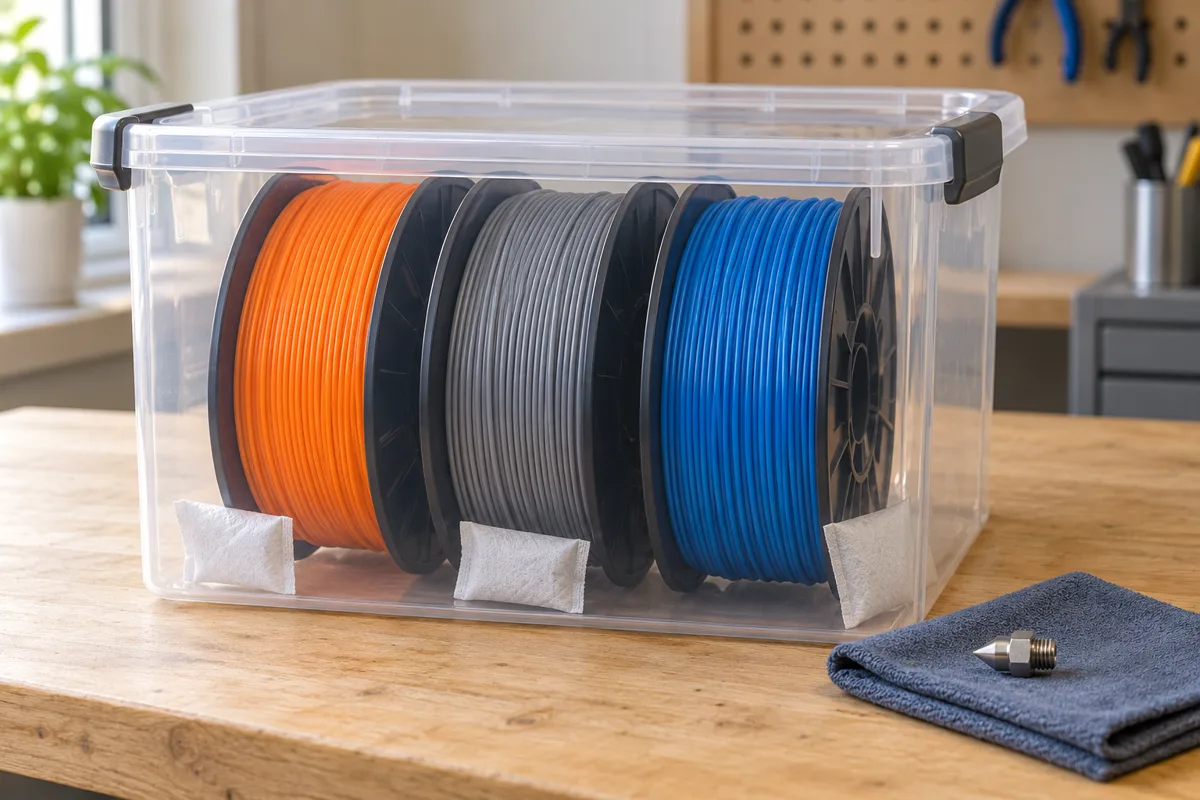
Follow the filament manufacturer’s storage and drying instructions. Sealed storage with maintained desiccant can help limit moisture exposure, but storage is not the same as actively drying wet filament. A dryer is a material-dependent purchase, not an automatic requirement for every buyer.
Common questions about enclosed 3D printers
Does an enclosure make ABS easy?
It can help manage drafts, but it does not guarantee adhesion or prevent warping. Check the exact material profile, build surface, geometry, and environmental instructions. These models should not be treated as actively heated-chamber machines.
Which models list filtration?
All three do. Bambu lists activated carbon, Creality describes built-in air filters, and Flashforge specifies HEPA plus activated carbon with internal and external circulation. These descriptions are not comparable independent emissions tests and do not establish that ventilation is unnecessary.
Is an AMS worth buying?
Consider it when automatic switching solves a recurring project need. Check compatible materials, total equipment cost, space, and material waste. For primarily single-color projects, a single-spool workflow may cover your needs.
Which should be a first enclosed printer?
Start with project fit. The P1S offers the middle build size and a material-switching option; the K1 Max offers more room; the 5M Pro covers a smaller build cube. Confirm the exact package, current availability, software requirements, and complete price before deciding.
Final recommendation
Choose the build area and workflow your projects need, then compare current purchase packages. The P1S is a candidate for its middle-size format and optional switching system, subject to confirming current US purchase details. The K1 Max deserves attention for larger parts. The 5M Pro is worth comparing when 220 mm is enough.
None is a universal winner on the evidence presented here. Enclosure design, material guidance, usable space, and total ownership costs make a more useful decision than a maximum-speed headline alone.
Sources and research method
Official manufacturer specifications, manuals, support pages, and US store listings were checked on October 30, 2026. Price statements are dated observations. Current US P1S pricing, bundles, and stock could not be confirmed because its US store page could not be retrieved. The Flashforge platform-temperature conflict and K1 Max listing/version distinction are retained for buyers to verify. No hands-on tests, measured noise comparisons, owner-survey findings, or independent emissions results are claimed. Images are AI-generated conceptual illustrations, not photographs of the reviewed models or evidence of testing.
- Bambu Lab P1S technical specifications
- Bambu Lab P1S quick-start guide
- Bambu Lab P1S listing and build-area qualifications
- Original Bambu AMS material and spool guidance
- Creality K1 Max product documentation
- Creality K1 Max reference specifications
- Creality K1 Max support
- Creality US K1 Max listing
- Flashforge Adventurer 5M Pro product and US store page
- Flashforge Adventurer 5M Pro manual