
We may earn money or products from the companies mentioned in this post.
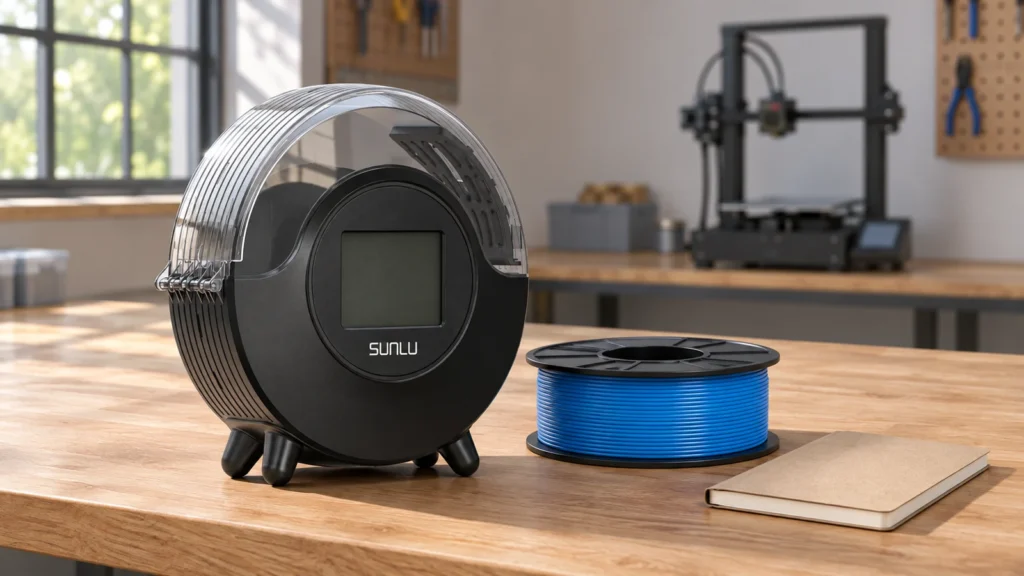
If your SUNLU FilaDryer S2 powers up but you are unsure whether it is actually heating, start by checking the selected setting and the measured chamber temperature. The timer, material presets, and humidity display describe different things; none alone proves that a spool is dry.
These SUNLU filament dryer instructions cover setup, the controls, sensible drying settings for each material, and what to do when prints still look bad after drying. The manual that came with your exact unit has the final word on button behavior.
This is a research-based setup guide. No hands-on drying tests or independent performance measurements are claimed.
Quick-start checklist and identifying your S2 version
Run through this list before you touch any settings.
- Put the dryer on a flat, hard surface with open space around it.
- Plug in the power adapter. The S2 uses a 24V/2A adapter, so use the one from the box.
- Load one spool and thread the filament out through the port.
- Close the lid.
- Pick a material, check the temperature and time, then start.
- Confirm the settings and monitor operation in accordance with the manual. Turn it off when finished.
Use the official SUNLU S2 product page to check the model, and the official manual download page to locate its instructions. Match the controls and model label to your unit.
Which S2 do you have?
The name “S2” gets used loosely online. SUNLU has sold it in different batches, and the display layout, material presets, and button response can differ a little between them.
Some listings also mix it up with the S1, S4, or Plus models.
Check the label on the bottom of the unit and the printed manual in your box. If you read a PDF online, make sure the model name and the picture of the display match your screen.
If the instructions do not match your unit, ask SUNLU for the correct manual rather than combining steps from different models.
The S2 manual describes a display with measured temperature, measured humidity, a temperature setting, and a cursor column. A screen that looks very different from that most likely belongs to another revision or model.
Positioning the dryer, checking spool fit, and loading filament
Where to put it
Keep the dryer away from the heat of a running printer. Soft surfaces like a blanket or a towel block the vents, so skip those.
An enclosed shelf with no ventilation also makes a poor spot, since a heating element in a stuffy cabinet gets hot for no good reason.
Checking spool fit
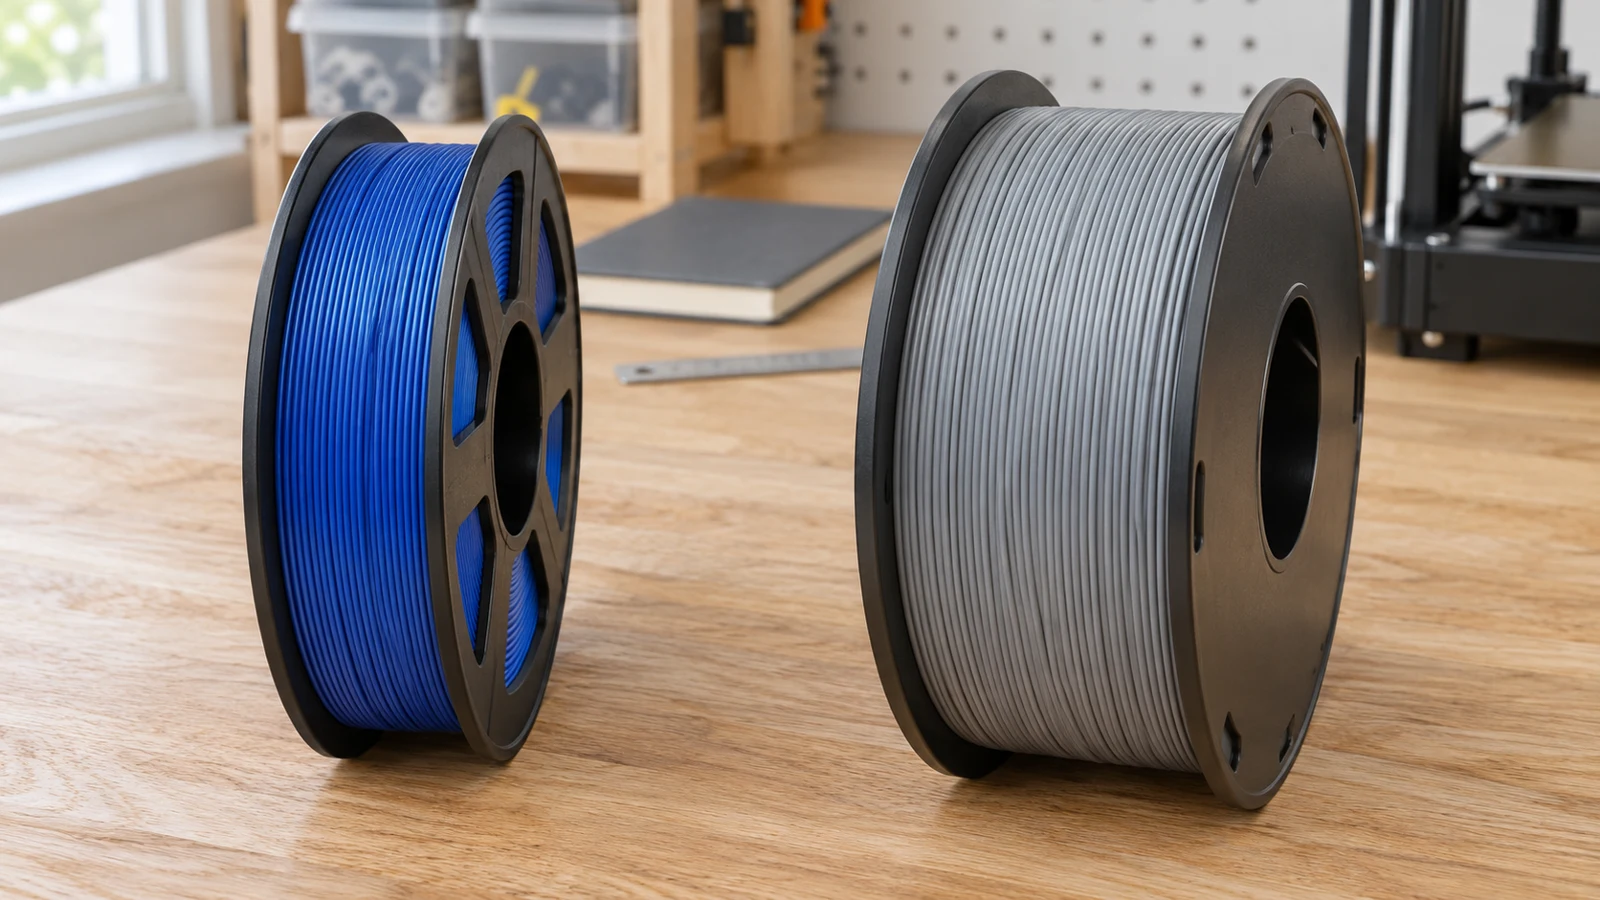
Check actual spool dimensions rather than weight alone. SUNLU lists a maximum spool envelope of 210 mm diameter by 85 mm width for the S2; confirm the limit for your unit. These spool types need particular attention:
- Very wide spools
- Spools with a large outer flange
- Cardboard or plastic spools with an unknown drying-temperature rating
- Oversized 2 kg or 3 kg reels
If the lid will not close without pressure, stop there. Respool the filament onto a smaller spool or use a different dryer.
Check the spool maker’s heat limit. Plastic flanges, cardboard construction, adhesives, and hub assemblies can have different limits; there is no universal safe temperature for every spool.
Loading steps
- Open the lid and set the spool on the rollers or holder inside.
- Pull the filament end toward the exit port.
- Thread it through the port hole.
- Make sure the filament comes off the spool in the direction that lets it unwind freely.
- Close the lid.
The filament should unwind without rubbing the lid or the edge of the port.
Quick tip: Remove a damaged or swollen filament end with a suitable cutter. Follow your printer’s loading instructions for the tip shape, and keep hold of the loose end so it cannot slip under another winding.
Understanding the display, temperature controls, and timer
The following controls refer to the SUNLU S2 manual dated October 2023, available as a manufacturer PDF from distributor Conrad. Match it to your unit before using these steps.
- ON/OFF: Double-tap to start or stop. A newly powered unit is initially in standby.
- SET: Select the flashing row; use the up/down arrows to adjust it.
- PV: Measured chamber temperature. Select this row to change °C/°F.
- SV: Target temperature, adjustable from 35–70°C (95–158°F).
- Time: Select and adjust the countdown. Its completion returns the unit to standby.
- Material: Change the preset, then recheck the temperature and timer against your filament guidance.
- LED: Adjust the light-ring mode; ring illumination alone does not establish drying success.
Defaults and continuous mode
The cited manual gives startup defaults of PLA, 50°C, and six hours. These are device defaults, not instructions for every PLA brand.
For continuous mode, its timer instructions describe selecting 99:00 and pressing the up arrow until CLOSE appears. That disables the countdown rather than closing the lid. Use a finite timer unless you specifically need continuous operation; confirm your revision’s behavior and safety instructions. Recheck the timer after restarting.
Material settings for PLA, PETG, ABS/ASA, and TPU
Use guidance for the exact filament and spool. The S2’s maximum temperature does not establish compatibility with every drying procedure. If a material requires more heat than the dryer can deliver, use suitable equipment rather than substituting an unverified lower-temperature cycle.
These are brand-specific examples from Prusa’s Prusament drying guide, not universal presets:
| Material example | Manufacturer temperature | Manufacturer time | S2 implication |
|---|---|---|---|
| Prusament PLA/rPLA | 45°C / 113°F | 6 hours | Within the stated range; check spool limits. |
| Prusament PETG | 55°C / 131°F | 6 hours | Within the stated range. |
| Prusament TPU | 60°C / 140°F | 4–6 hours | Within the stated range; confirm the exact TPU grade. |
| Prusament ASA | 80°C / 176°F | 4 hours | Exceeds the S2’s 70°C maximum. |
| Other ABS, ASA, nylon, or PVA formulations | Consult the exact product’s drying guidance | Product-specific | Check dryer capability and spool heat limits separately. |
Source: Prusa’s drying-filament guidance. Its temperatures apply to the named materials. Do not assume every filament of the same polymer uses those values. A spool can also impose a lower limit than its filament.
For more on PLA, including how to tell when it needs drying and what to do when it keeps misbehaving, read our guide on How to Dry PLA Filament. If you are still picking materials and want to see how they handle moisture and heat, the 3D Printer Filament Comparison lays it out side by side.
Routing filament for printing from the dryer
The S2 can feed filament to a printer during drying. A workable arrangement still needs a freely turning spool and a low-resistance route to the extruder; the dryer does not solve a restrictive filament path.
Setup tips
Choose a stable position that lets the spool unwind freely. Avoid tight bends, sharp edges, and long unsupported runs. Follow the printer’s loading route and confirm that its moving parts cannot pull on the dryer.
Use PTFE tubing or fittings only where they fit the supplied port and your printer’s loading system. Extra tubing can increase drag, especially with flexible filament; it is not a necessary purchase for every setup.
Keep vents clear and the dryer stable on a suitable surface. During a print, follow the filament maker’s guidance rather than applying a generic “holding temperature.”
Filament feeding resistance
If feeding becomes difficult, check these possible causes:
- A tight port hole. Some filament sticks at the exit. A PTFE tube insert, if one came with your unit, can help the path.
- Filament crossing over itself on the spool. Check the winding before loading.
- The spool rubbing on the lid or the rollers. Reposition it.
- A bend at the port. Angle the tube so the filament leaves in a straight line.
- Filament gone soft from heat, especially TPU or PLA run too hot. Lower the temperature.
- TPU in general. It is soft and tends to buckle. Short, direct paths and slower print speeds help.
A Bowden setup can be hard to run with TPU even with a dryer, so a direct drive extruder makes life easier for that material.
Smoothing out a jerky spool: If the spool jerks each time the extruder pulls, adjust the position to reduce bends and check that the spool can rotate freely. If the rollers stick, check the manual before adding any lubricant.
Troubleshooting humidity readings, feeding issues, and persistent print problems
Chamber humidity versus filament moisture
Most confusion starts here. The humidity number on the display describes the air inside the chamber.
It says nothing direct about how much water sits inside the filament.
Warm air pulls moisture out of the filament. The reading may rise or fall as temperature, moisture release, and air exchange change. A particular rise-then-fall pattern is not guaranteed.
Relative humidity also changes with temperature. A low reading in a warm chamber does not directly measure water inside the polymer or prove the spool is ready.
Moisture uptake after exposure depends on the material and room conditions. Treat the reading as a hint, and let the way the filament prints be the real test.
Common humidity-reading situations
- Humidity will not drop below a certain level. Room air gets in through the filament port and any vents. The reading often stays above single digits unless the room is dry.
- Humidity went up after starting. Moisture release and changing chamber conditions can affect the reading. A rise alone is not a fault diagnosis.
- The readout seems off. Built-in sensors in consumer dryers are not lab equipment. A separate hygrometer gives a second opinion, and neither reading should be treated as exact.
- The temperature differs from the setting. Chamber temperature lags, and the sensor sits in one spot. Give it time to settle before judging.
Print problems that continue after drying
Work through these in order if prints still look bad:
- Stringing, popping, or bubbles. Check the exact filament’s drying procedure and whether the recommended cycle was completed. Do not keep increasing heat or time without a supported procedure.
- Stringing that stays. Check retraction settings and nozzle temperature. Moisture is only one cause.
- Rough surface or weak layers. Nozzle temperature, cooling, or old filament can all play a part.
- Clogs. Check contamination, nozzle condition, the filament path, and hotend cooling using the printer’s maintenance guidance.
- Brittle filament. Some filament degrades with age or heat exposure, and drying does not reverse that.
These symptoms can have several causes. Compare results using a known-good profile and suitable filament rather than assuming every defect proves moisture contamination.
Realistic expectations
A dryer like the S2 handles routine drying of common materials and offers a convenient way to print from the unit. It is a consumer tool, and higher-temperature materials, big spools, and humid rooms push its limits.
There is no fixed “one or two cycles” replacement rule. If a supported drying cycle does not help, check the printer and ask the filament supplier about further drying or material deterioration.
Storage after drying, basic care, and FAQs
Keeping filament dry afterward
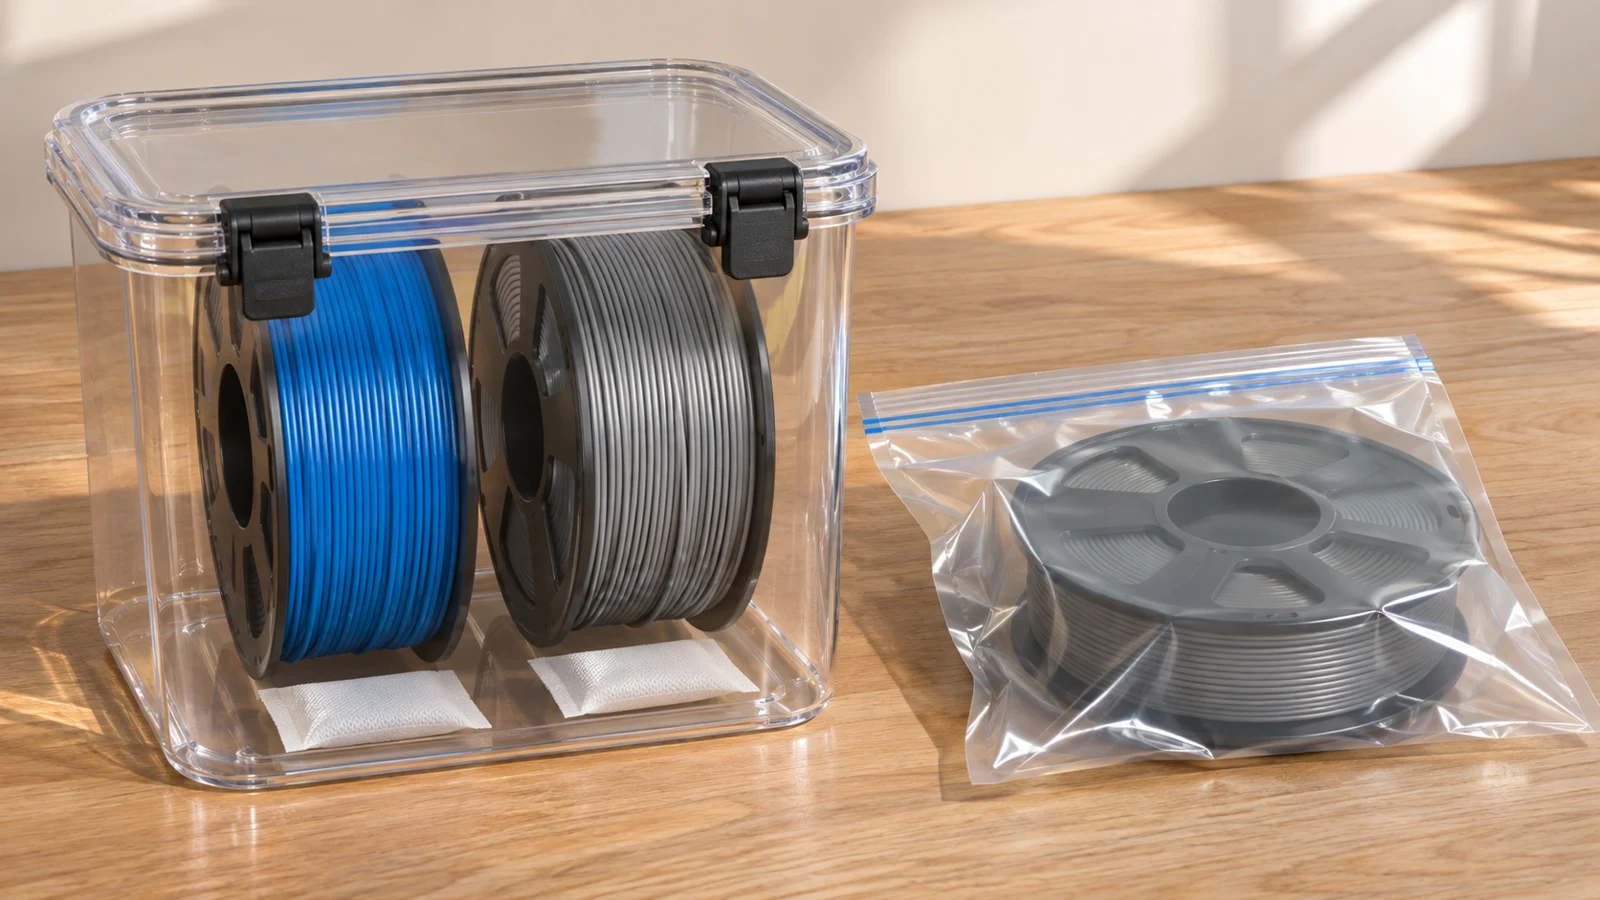
Put dried filament straight into a resealable bag or an airtight container with desiccant. A standard zip bag with desiccant covers most of the need, and a vacuum bag adds a little more protection if you have one.
Choose a container that seals properly and accommodates the spool dimensions.
Choose desiccant you can recharge, and replace or dry it once it saturates. Color-change indicator beads make that easy to see.
A small hygrometer inside the container can indicate storage conditions; allow for its accuracy and temperature sensitivity.
Avoid leaving spools on the printer for weeks in a humid room. Write the drying date on each spool so you know how long it has been sitting.
Basic care
- Unplug the dryer before cleaning.
- Wipe the inside with a dry or slightly damp cloth and let it dry fully.
- Keep the vents clear.
- Check the cord and adapter now and then for damage.
- Watch for melted or deformed spool parts.
FAQs
Drying two spools at once. The S2 is designed around single-spool use, and your manual has the final word on your revision. Stacking spools can cut airflow and make drying uneven.
Running it overnight. A timer does not establish that unattended operation is appropriate. Follow the manufacturer’s safety instructions and your unit’s condition; stop using a damaged or malfunctioning dryer.
Choosing a temperature for a filament that is not listed. Ask the filament maker for a supported drying procedure. Do not guess a rising temperature sequence.
Drying brand-new filament. Sealed bags with desiccant are often fine. Dry the spool if prints show moisture symptoms.
Printing at full drying temperature. Follow the exact filament and spool guidance, and verify that feeding stays reliable. There is no single holding temperature that suits every material.
The CLOSE message on the timer. In the cited S2 manual, it indicates that the countdown is disabled. Check the matching manual if your display behaves differently.
Using the S2 with ABS or ASA. Check the exact brand’s drying requirement. A material preset is not proof that the S2 can meet every formulation’s procedure; some require more than 70°C.
Final tip: Write down the settings that work for each filament brand you use, since they vary. Keep those notes alongside the supplier’s instructions so you can repeat a supported procedure.
Keep a simple log of the filament brand, material, supported temperature, session length, and resulting print behavior.
Sources and research method
Manufacturer documentation and product pages were checked on November 16, 2026. Control instructions above are scoped to SUNLU’s October 2023 S2 manual; owners should match the manual to their unit. Material examples come from Prusa’s guidance for its named products. Illustrations are AI-generated and are not photographs of our testing.