
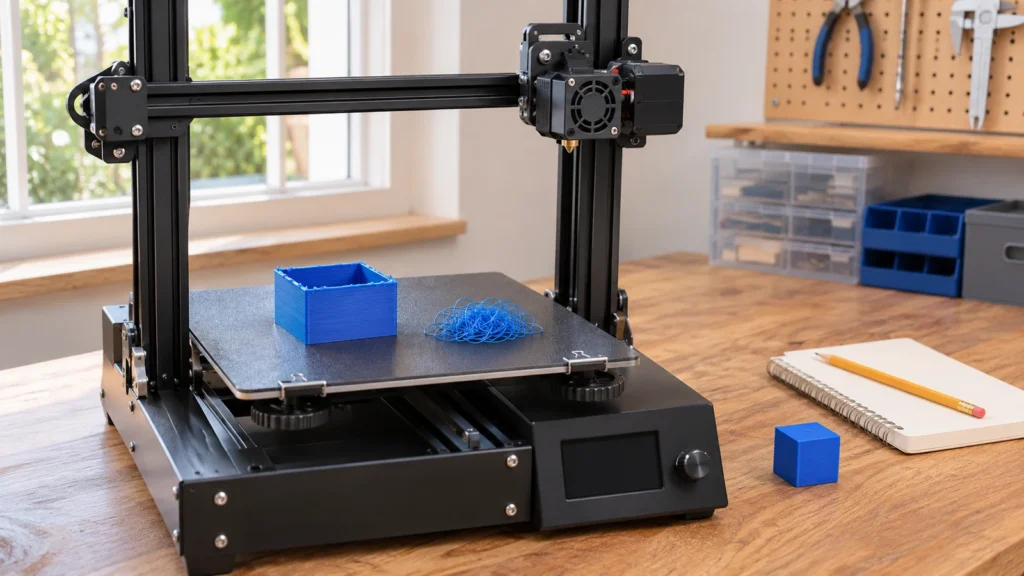
We may earn money or products from the companies mentioned in this post.
A print that will not stick needs different checks from one that fails halfway through. Start with the visible symptom, then check the build surface, filament path, and slicer profile before buying replacement parts.
If you are asking why your 3D print is failing, the table below gives you a starting point. A symptom can have several causes, so treat each entry as a first check rather than a diagnosis.
This is an overview of 3D printer troubleshooting for filament (FDM) machines. It starts with the cheap and easy checks and leaves replacement parts for last.
Use this checklist to choose the next check, then follow the instructions for your printer and material.
A quick note on numbers. You will not find a universal temperature, speed, or retraction setting in this guide. Those values depend on your printer, your filament, and your nozzle.
The right numbers come from your printer manufacturer and the label or website of your filament maker.
Start with a supported profile for your exact combination, then record each change you make.
Identify the Failure by Its Symptoms
Most failures leave clues. Find what you see in the table below, then do only the first check listed before moving on.
Changing several things at once makes it hard to tell what helped.
| Symptom | Possible cause | First check |
|---|---|---|
| Print will not stick to the bed | Dirty surface, nozzle too far from the bed, bed settings that do not match the material | Clean the build plate and re-run the first-layer setup |
| Corners lifting or curling | Weak adhesion, drafts, material that shrinks as it cools | Look at the first layer and check for drafts around the printer |
| Spaghetti (a tangled mess) | Print came loose mid-job, or an overhang had no support | Watch the first few layers and check adhesion |
| Stringing or thin wisps between parts | Settings that do not match the filament, or damp filament | Confirm the slicer filament profile matches your spool |
| Gaps, thin layers, or missing layers | Partial clog, tangled spool, dirty or worn feeding path | Check the spool, then use the supported heated loading/extrusion routine |
| Nothing comes out of the nozzle | Clog, filament loaded badly, or spool ran out | Use the printer’s loading routine at the specified temperature; stop if it jams |
| Layers shifted sideways | Loose belt, something blocking movement, print got bumped | Check for obstructions and follow the model-specific belt/motion inspection |
| Rough or bumpy surface | Mismatched filament settings, damp filament, loose parts | Check the slicer profile, then the condition of the filament |
Several of these overlap. A corner that lifts early can turn into spaghetti an hour later.
When you see spaghetti, work backward and look for what went wrong first.
Quick Checks Before You Restart a Failed Print
Before you press print again, give it two minutes. Restarting the same job with nothing changed usually gives you the same failure, and it burns more filament.
Look at where it failed. A failure on the first layer points to a different group of causes than a failure halfway up. Take a quick photo so you can compare it to the symptom table above.
Clear the bed all the way. Small bits of old filament stuck to the plate can leave the next print sitting on a lump. That makes the first layer uneven.
Inspect the nozzle. A blob stuck to the tip can interfere with a print. Follow the printer’s cleaning procedure, including its specified temperature and tools. Keep fingers away from the hot nozzle and heater wiring; do not scrape around them while the printer is moving.
Look at the spool. Filament that crosses over itself can snag partway through a job. A snag can interrupt extrusion partway through a model.
Check the spot where the printer sits. Use a stable surface and check for strong drafts. Temperature changes matter more for some materials than others; follow the printer’s enclosure and ventilation guidance.
Check the Build Surface and First-Layer Setup
If the print fails to stick at the start, inspect the surface and first-layer setup before changing unrelated settings.
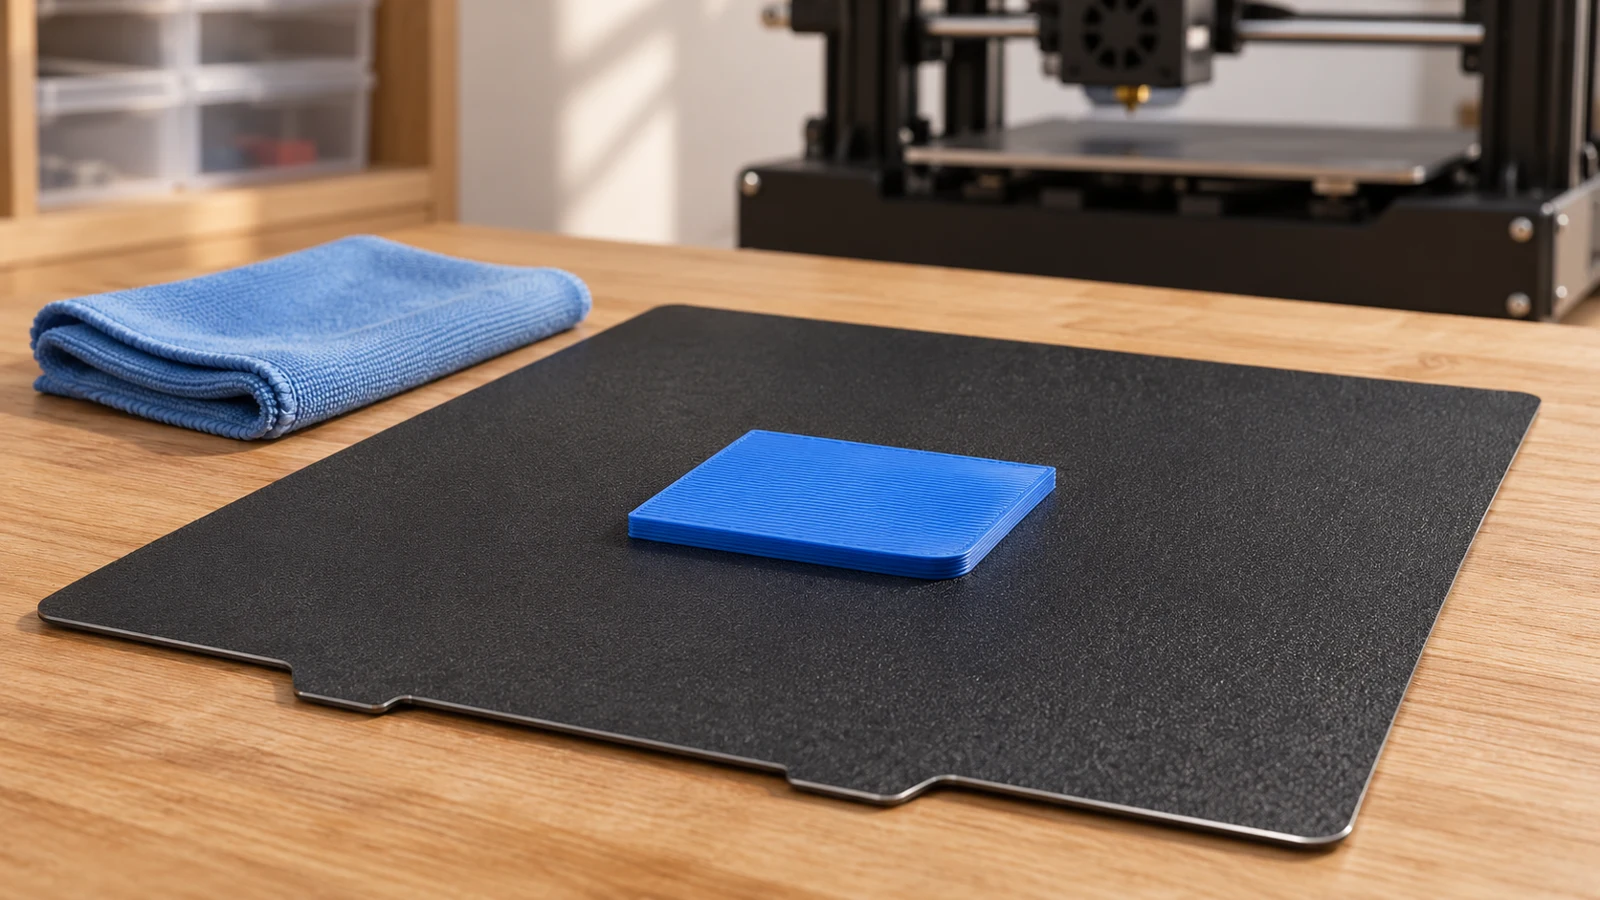
Clean the plate
Fingerprints leave oils on the surface, and oils keep filament from gripping. Clean the plate using the instructions for your exact plate type.
Textured, glass, and flexible plates do not all take the same cleaners, so check what your manufacturer says before you grab whatever is under the sink.
Check the nozzle height
If the nozzle sits too high, the filament lands like a round noodle that barely touches the bed. If it sits too low, the filament gets squashed, the nozzle can scrape the plate, and the flow can get blocked.
A good first layer looks flat and slightly pressed into the plate. The lines join each other with no gaps between them.
Use the calibration routine for your printer. Z offset means the nozzle-height adjustment used by some machines; others measure nozzle contact automatically. Do not apply a manual offset procedure from a different printer.
Check bed alignment and mesh leveling
The nozzle-to-bed distance needs to be consistent across the printing area. Follow any bed-alignment procedure required by your printer, then confirm that mesh leveling completed correctly. Mesh leveling measures height variation; it does not repair a loose plate or every mechanical alignment problem.
Watch a first-layer test
A common beginner tip is to print a wide, thin square or a few lines across the plate and watch it go down. It takes a few minutes and can save you from finding a failed 10-hour print in the morning.
Pattern to note: Repeated failure in the same area can help narrow the cause. Check that spot for contamination, plate seating, height variation, or airflow rather than assuming one explanation.
Check Filament Condition, Loading, and Extrusion
Once the bed looks good, look at what is going through the nozzle. Filament problems are easy to blame, but they are also easy to test.
Loading and the feeding path
A bent or damaged tip can catch in the feeding path. Prepare the tip and reload it using the printer’s instructions. Some loading systems specify a particular cut or preparation method.
The spool needs to turn freely. A spool that cannot rotate, or a loop crossed under another loop, will starve the printer partway through a job.
Moisture
Damp filament can add to stringing, popping or hissing sounds, and rough surfaces. It does not explain every failure.
For an immediate adhesion failure, surface preparation, first-layer setup, and the selected material profile are useful early checks.
If you suspect moisture, the PLA drying guide covers what to look for and how to think about it. Your filament maker’s storage and drying advice matters most, because it changes from one material type to the next.
If you plan to store or dry spools at home, the SUNLU S2 guide explains where that kind of dryer fits into a routine. Read it alongside the maker’s instructions for your specific filament.
Old or unknown spools
An unidentified or poorly stored spool adds uncertainty. If available, try a known-good spool of the same material using a suitable profile and the same small test model. A newly opened spool is not automatically dry.
A successful comparison can implicate the original spool or its feeding conditions, but it does not isolate moisture from every other variable.
If you are still picking material and want something forgiving to start with, the filament comparison guide lays out the differences in plain language.
Use the printer’s extrusion check
Use the supported loading or extrusion command with the nozzle at the temperature specified for the material. Keep hands clear of hot and moving parts. Do not force filament through a cold or blocked nozzle.
Clicking, grinding, or interrupted flow can indicate feed resistance, temperature or flow settings, a partial blockage, or another problem. A strand curling at the nozzle is not a reliable diagnosis by itself. If loading fails, stop and follow the model-specific troubleshooting procedure.
Verify Slicer Selections for the Printer, Material, and Nozzle
Slicer settings confuse a lot of new owners, and quiet mistakes pile up here. A print can look perfect in the preview and still fail because the slicer was told the wrong thing.
Check three items first.
- Printer profile. The slicer should be set to your exact printer model. A wrong profile can mean the wrong bed size, start routine, or movement limits.
- Filament profile. The selected material should match the spool. A generic profile picked for a different material is a common cause of stringing and poor adhesion.
- Nozzle size. If you changed the nozzle, tell the slicer. Select the matching nozzle profile and compatible layer-height, line-width, and flow settings. A nozzle mismatch can cause problems, but it does not translate into one predictable extrusion error.
When in doubt, start with the default profile from your manufacturer or filament maker and print something simple. Defaults give you a known baseline, and a problem is much easier to fix when you know what normal looks like.
Also look at whether your model needs supports. A part with a large overhang and no support can droop and turn into spaghetti even when everything else is set up right.
Change One Setting at a Time and Run a Small Test
Changing one variable at a time makes results easier to interpret. If you change the nozzle height, the filament, and three slicer settings at once and the print works, you have no idea which change fixed it.
If it fails, you have no idea which change made it worse.
Here is a simple routine.
- Pick the most likely cause from the table.
- Change only that one thing.
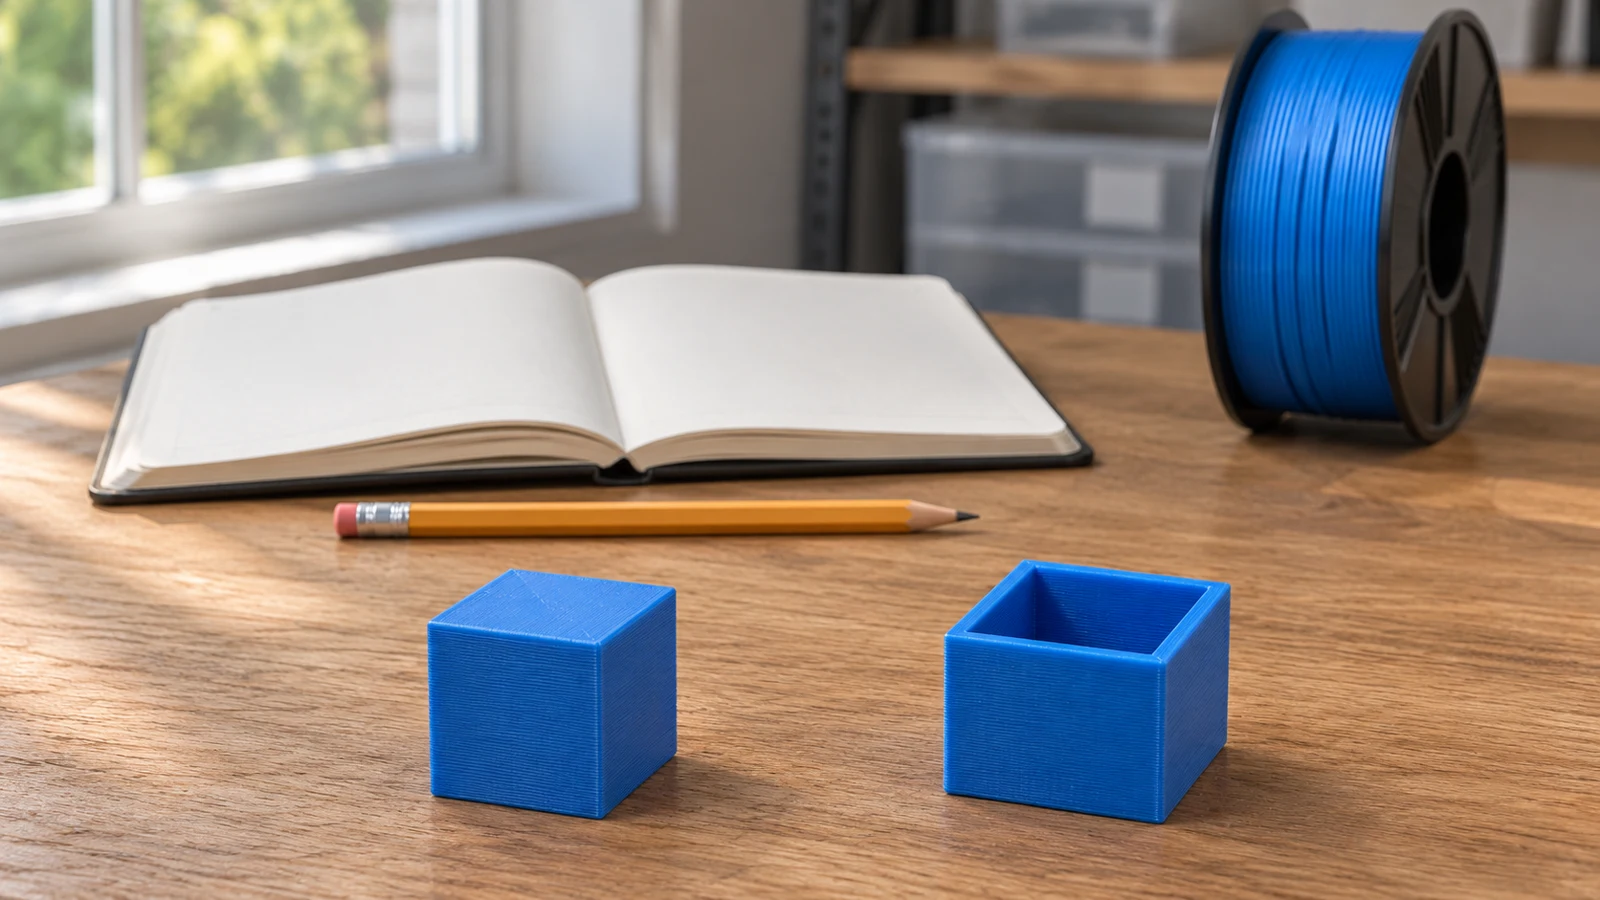
- Print something small and quick, like a calibration cube, instead of the 12-hour project.
- Write down what you changed and what happened.
- If it did not help, return to the previous supported setting where appropriate and try the next check. Keep corrections to confirmed faults.
Record the profile, material, change, and result so you can compare attempts without repeating the same checks.
Keep a test model: Save a small model that has printed successfully, then slice it again for the current printer, nozzle, and material. Do not reuse old G-code after a hardware or material change without checking compatibility. One successful test is useful evidence, but it does not rule out intermittent faults or problems that appear only on longer prints.
This is the center of good 3D printer troubleshooting. Each small test can narrow the possibilities; some faults need more than one observation.
When to Stop and Consult Manufacturer Support
Some problems are not worth another weekend of experiments. Contact the manufacturer or the seller in these cases.
- You see damaged wiring, melted connectors, a burning smell, or anything else that looks unsafe. Power the printer off and unplug it first.
- The printer shows error messages that will not clear after you follow the manual.
- The nozzle heater or fans seem to have failed, or temperatures behave strangely.
- A part looks bent, cracked, or loose and you cannot tell how it should fit.
- The trouble started right after you unboxed a new printer. That could be a defect covered by the warranty.
Before you write in, gather your printer model, your slicer and its version, your filament brand and type, photos of the failure, and a list of what you already tried. These details help support understand the situation and avoid repeating checks you have already completed.
Check the warranty terms before you open up or change any hardware. Some changes can affect coverage.
Replace parts when inspection or manufacturer guidance points to a fault. A confirmed damaged component should not stay in use simply because the rest of the checklist is unfinished.
FAQs and a Reusable Pre-Print Checklist
A print fails halfway through
Common causes include the print coming loose from the bed, a tangled or stuck spool, a partial clog, or running out of filament. Look at the exact point of failure and compare it to the table above.
A print looks fine and then turns into spaghetti
Something usually detached or shifted early, and the printer kept going in mid-air. Watch the first several layers on the next attempt.
Drying filament every time
Drying is not required for every failure. Moisture is one possible cause of stringing and rough surfaces, so check your filament maker’s guidance and rule out the simpler causes too.
Raising the temperature
Temperature should not be the first thing you change. Use the range printed on your spool or recommended by your manufacturer, and change one setting at a time.
Printer or filament as the problem
Compare with a known-good spool of the same material and the correct profile. If the result improves, the original spool or feeding conditions deserve further investigation. If it does not, continue checking the printer and settings; neither result proves a single cause.
How many failed prints are normal
There is no set number. Most people see some failures while they learn, and a steady routine cuts them down over time.
Reusable pre-print checklist
Copy this list and run through it before each print.
- Build plate is clean and free of old filament bits
- Required bed alignment and calibration are complete, and the correct plate is seated securely
- Nozzle is clean with no blob on the tip
- Filament is the right type, stored well, and free of tangles
- Filament loads and extrudes through the supported heated loading routine, if a check is needed
- Slicer printer profile matches the printer
- Slicer filament profile matches the spool
- Nozzle size in the slicer matches the real nozzle
- Supports are on where the model needs them
- Printer sits on a stable surface, away from drafts
- First layer watched for the first few minutes
- Each troubleshooting change is recorded and tested separately
If a print still fails after all of that, take a photo, match it to the table, and make one change. That routine gives you a clearer record of what failed and what to investigate next.
When the failure points to filament, the filament comparison guide and the PLA drying guide are good next stops. If a dryer is on your list, the SUNLU S2 guide is there for a closer look.
Sources and Research Method
This guide was checked against manufacturer documentation on November 17, 2026. The sources explain possible causes; they do not diagnose every printer. Follow the procedure for your exact model. No hands-on tests or measured failure rates are claimed. Images are AI-generated illustrations.