
We may earn money or products from the companies mentioned in this post.
A first printer can become frustrating if its build plate is too small for the projects you want to make, or its setup needs more attention than expected. The Bambu Lab A1 mini brings automated calibration and a small printing envelope together, so the buying decision starts with project dimensions and the workflow you want to learn.
Consider it for smaller parts and models when its calibration features and software workflow suit your needs. Compare larger printers if splitting and joining models would become a regular task. Choose a multicolor configuration only when you have projects that justify the additional equipment, space, material use, and printing time.
This is a research-based feature review, not a hands-on test. It does not claim measured print quality, setup time, noise, reliability, or superiority over competing machines. Current US prices, stock, and exact package contents are not confirmed here.
For a broader first-printer shortlist, see our 3D Printers for Beginners guide.
Who Should Consider the A1 mini?
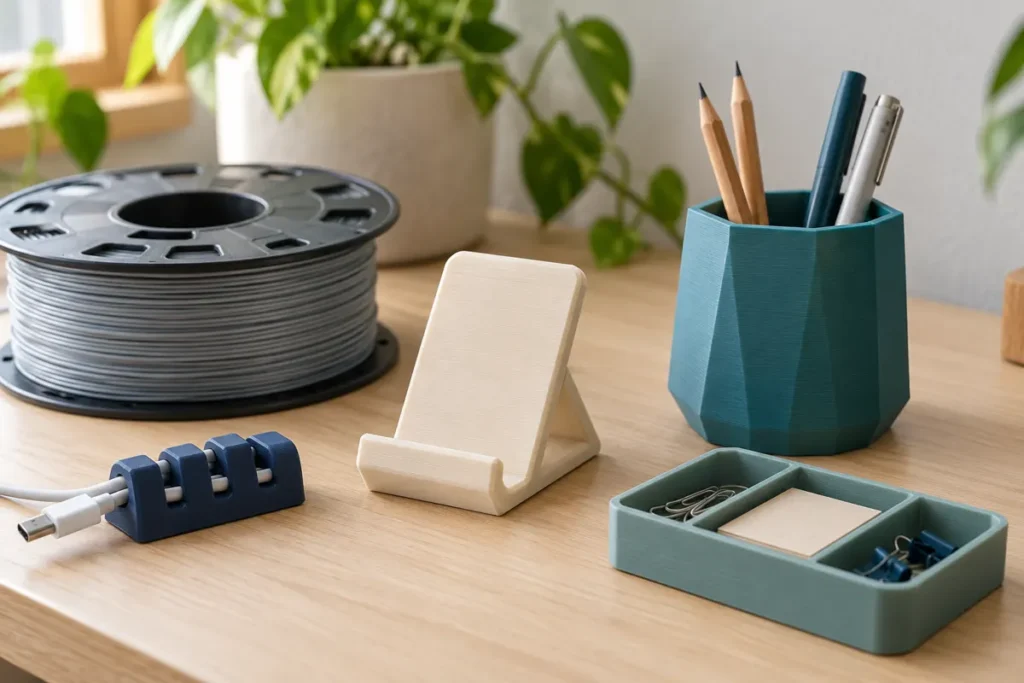
The A1 mini is worth comparing for cable clips, small organizers, phone stands, game pieces, and other projects that fit within its nominal 180 × 180 × 180 mm printing envelope. That describes the available print space, not a guarantee that every design in those categories will fit or work well.
Automated calibration is a reason to consider the machine if you prefer a guided setup process. It does not establish how quickly a particular buyer will learn the software, prepare a model, or produce a successful first print.
Buyers expecting to print large trays, helmets, armor pieces, or wide mechanical housings should check their actual model dimensions before choosing it. Splitting a model can make a larger project possible, but joining and finishing add work and may affect strength or appearance.
Material requirements matter as much as dimensions. A printer that fits a part’s shape may still be unsuitable for the filament or operating conditions the finished part requires.
Key Specifications and Buying Checks
The core model specifications below describe the A1 mini. Check the current official documentation for the exact printer, supplied hotend, firmware, and regional package before ordering.
| Specification | A1 mini reference specification or buying check |
|---|---|
| Nominal build volume | 180 × 180 × 180 mm |
| Published machine dimensions | 347 × 315 × 365 mm; additional operating clearance is required |
| Maximum nozzle temperature | 300°C; this alone does not establish filament compatibility |
| Maximum heated-bed temperature | 80°C |
| Advertised maximum toolhead speed | 500 mm/s; not a measured everyday print speed |
| Calibration features | Automatic bed leveling, Z-offset, vibration compensation, and flow-dynamics calibration |
| File-transfer and control options | Wi-Fi-based workflows and microSD printing; local-network functions depend on supported software and settings |
| Material starting point | Check the model-specific guidance for PLA, PETG, TPU, and PVA, plus the restrictions of any feeding system |
| Multicolor configuration | Verify the exact Combo contents and current compatible feeding hardware |
| Current US price and availability | Not independently confirmed; check the exact configuration with the official US store |
The maximum speed does not predict a model’s completion time. Geometry, layer height, acceleration, cooling, filament flow, and slicer settings all matter. A higher setting may be inappropriate for a particular material or part.
Plan More Than the Static Footprint
The listed dimensions are not the full operating-space requirement. The bed moves during printing, and the printer needs space for filament handling, cables, build-plate removal, cleaning, and access to moving components.
An external multicolor unit and its spools require additional room. Check the current installation diagram for the exact arrangement rather than assuming one general clearance figure applies to every setup.
Measure the usable work area before buying. A machine that fits on a desk while stationary may still lack the space needed for bed travel or convenient maintenance.
Setup and Everyday Workflow
Follow the quick-start guide supplied for the exact configuration. The general setup includes removing transport restraints, installing the specified components, checking placement, loading appropriate filament, and completing the guided calibration.
Prepare models with supported software and an appropriate printer, nozzle, and filament profile. Check the sliced preview before printing, including supports, adhesion settings, and any region of the part that approaches the edge of the available envelope.
The A1 mini’s calibration features address several adjustments, including bed leveling, Z-offset, vibration compensation, and flow dynamics. They do not clean the plate, correct every mechanical problem, dry filament, or choose the right settings for each model.
Wi-Fi, LAN Mode, and Offline Printing
Distinguish the physical connection from the operating mode. A local-network or LAN-only workflow does not mean the printer has a wired Ethernet port. Check Bambu Lab’s current documentation for the functions supported by your firmware and software versions.
Cloud, mobile-app, and local-network functions can have different account and connectivity requirements. Do not assume every feature remains available in every mode, or that an older setup tutorial describes the current software.
MicroSD printing provides an offline workflow for supported prepared files. Confirm the file preparation and card requirements in the current instructions. Bambu Studio and Bambu Handy serve different roles; the mobile app should not be described as a complete substitute for every desktop slicing task.
What Fits Within the Build Volume?
A 180 mm envelope can be useful for small organizers, clips, brackets, holders, and display models. The exact design, orientation, supports, and intended material determine whether a particular project is suitable.
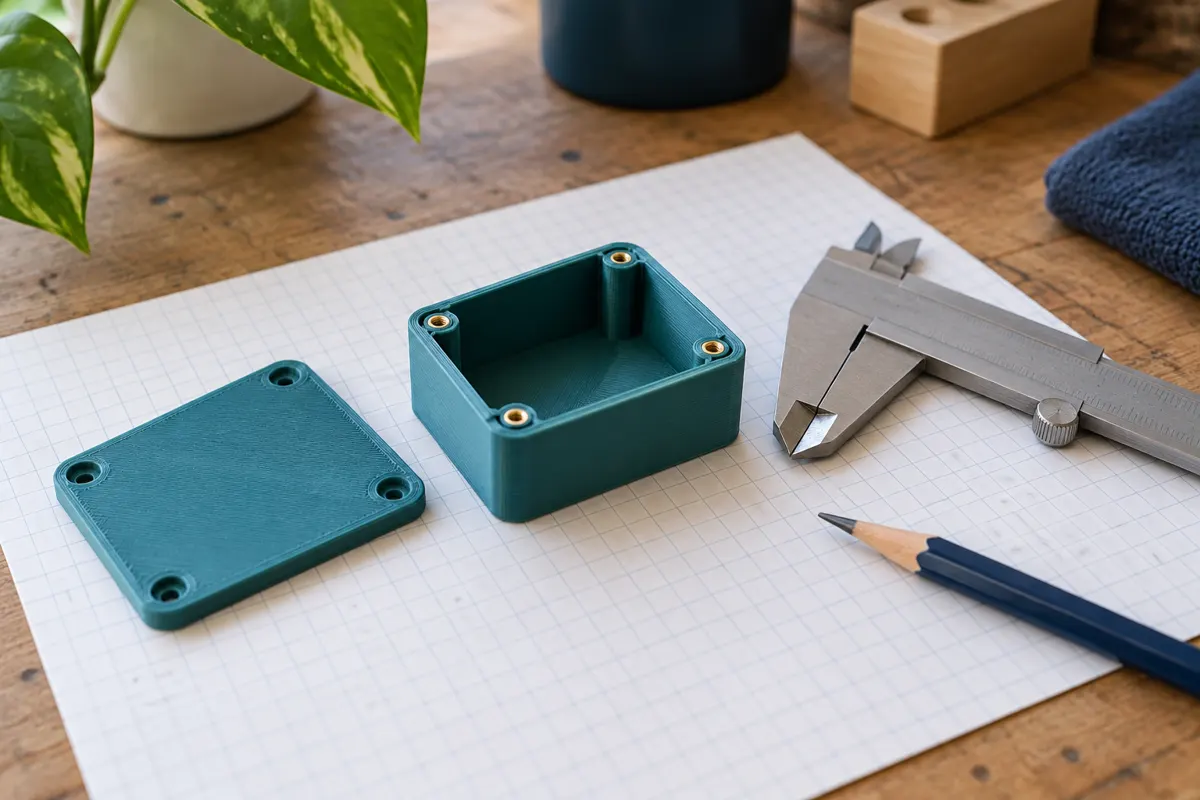
A part that approaches 180 mm in one direction may leave little room for a brim or other settings. Reorienting a model can change its support requirements, surface finish, and strength, so fitting diagonally is not automatically the best solution.
Splitting a larger model is another option. Alignment features, fasteners, and the intended joint design can help, but there is no universal joining method that preserves the strength of every single-piece design.
If most of your intended projects need splitting, compare a larger machine before buying. If the projects already fit, extra build volume may offer little practical benefit for the additional cost and workspace.
Material Limits and Filament Care
Start with the printer manufacturer’s guidance for the exact filament and installed hardware. PLA, PETG, TPU, and PVA appear in A1 mini material guidance, but printer compatibility and multicolor-feeder compatibility are separate questions.
Do not assume all flexible filaments can pass through an automatic feeder. Moisture-sensitive support materials also need the storage and preparation conditions specified for the exact product.
The 300°C nozzle rating does not make every higher-temperature material suitable. Bed temperature, the open-frame environment, cooling, nozzle material, and the filament’s requirements also matter. Higher-demand or abrasive materials need their own compatibility check; do not treat every carbon-fiber blend as identical.
Use the manufacturer’s model-specific guidance before considering ABS, ASA, polycarbonate, nylon, PET, or reinforced formulations. An improvised enclosure is not a substitute for that guidance, and an open-frame printer should not be enclosed unless the manufacturer explicitly approves the arrangement.
Match the Material to the Finished Part
PLA is a common starting material, but a PLA part is not automatically suitable for heat, sustained load, or outdoor exposure. PETG and TPU have different characteristics and printing requirements; selecting a material still requires considering the application and design.
Moisture can affect printing with sensitive filaments. Use the filament maker’s drying and storage instructions. Sealed storage with desiccant can help maintain dry conditions, but it does not necessarily dry a spool that has already absorbed moisture.
Standalone Versus Combo
Compare the exact regional product listings and included accessories. A standard printer package and a Combo package are different purchase configurations; do not assume every accessory shown in a promotional image is included.
The A1 mini Combo has been offered with AMS lite, whose four filament inputs support multicolor workflows. Confirm the current package, compatible feeding hardware, connection requirements, and firmware support before ordering. Compatibility with one Bambu Lab feeding system does not establish compatibility with another.
For an AMS lite configuration, plan space for the unit, spools, tubing, and access. Check the feeding system’s own material restrictions as well as the printer’s. A filament suitable for external-spool printing may be unsuitable for that feeder.
Multicolor Adds More Than Color
Single-nozzle color changes can require purging and may use a prime tower, depending on the profile. The extra material and time depend on how often colors change, the layout, and the selected settings.
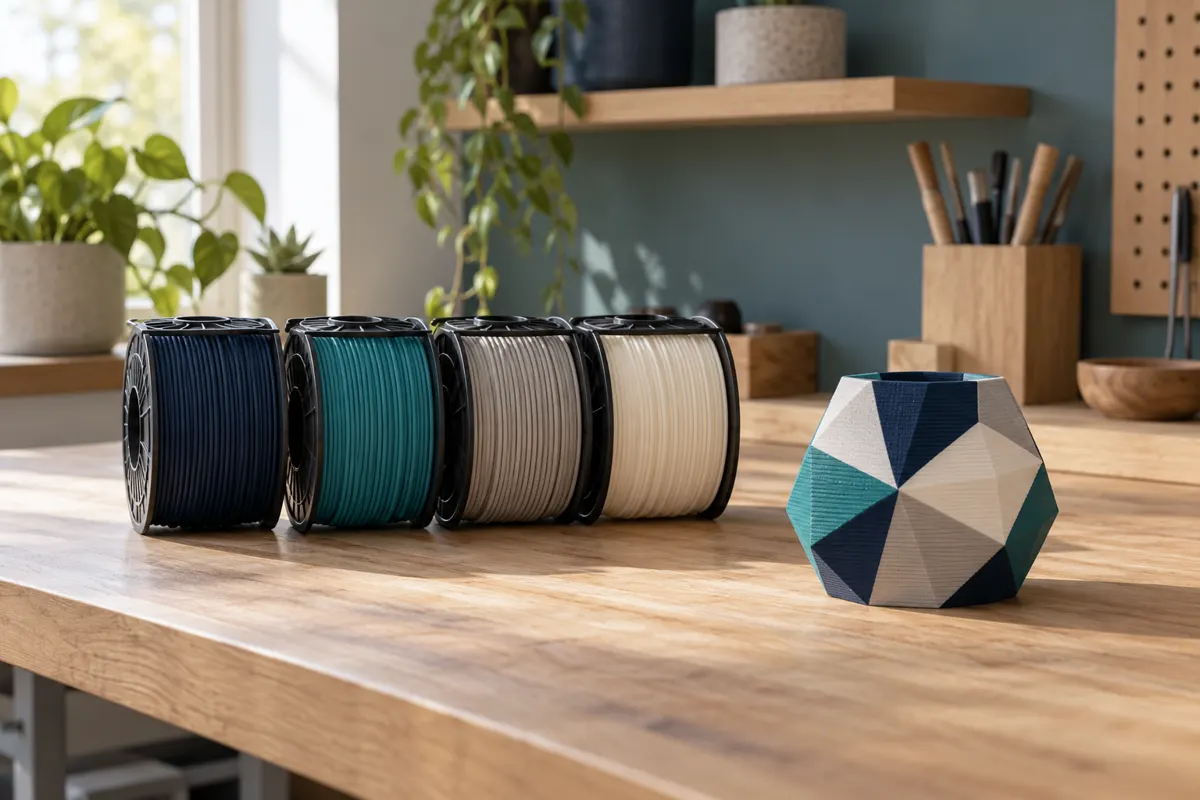
There is no fixed waste ratio that applies to every print. Inspect the slicer’s estimated material use and duration for a representative project before deciding whether multicolor equipment is worthwhile.
Consider a standalone configuration when your planned work is mostly single color. Compare the Combo when you already have multicolor projects in mind and accept the additional space and operating costs. Verify the current bundle price against buying compatible accessories separately; do not rely on an undated savings claim.
Ownership Costs and Routine Care
Budget beyond the printer itself. Depending on the configuration and projects, ongoing purchases may include:
- Filament and suitable storage.
- Build-plate cleaning supplies specified by the manufacturer.
- Replacement nozzles, hotends, build surfaces, or other wear items.
- Compatible tools and accessories that are not included.
- Extra filament used in supports, failed prints, or multicolor changes.
Current prices for these items have not been verified here. Compare the exact compatible part rather than assuming a generic nozzle or accessory will fit.
The A1 mini uses a quick-swap hotend design. Follow the official replacement procedure; the design does not remove the need for correct handling, installation, or inspection.
Different nozzle sizes change achievable line width and detail, but a larger nozzle does not automatically make every part faster or stronger. Material flow, geometry, layer height, and other settings affect the result.
Follow the current maintenance instructions for plate cleaning, lubrication, mechanical inspection, and replacing worn parts. Use the specified products and locations rather than applying lubricant indiscriminately. Calibration automation does not eliminate routine care.
Pros and Cons
Reasons to Consider It
- Several automated calibration functions.
- A small build envelope that may match compact practical projects.
- Software and connection options for different supported workflows.
- A quick-swap hotend design.
- A multicolor option when the compatible configuration suits the intended work.
These are feature-based reasons to compare the printer, not measured proof of better results or shorter setup time than every alternative.
Limitations to Consider
- The nominal 180 mm dimensions restrict larger single-piece models.
- Operating clearance exceeds the static machine dimensions.
- Material requirements can rule out the printer even when a part fits.
- Multicolor equipment requires additional space and can add material use and print time.
- Cleaning, inspection, filament care, and part replacement remain necessary.
Included camera features should be checked in the current specifications. A monitoring camera does not establish high-frame-rate streaming, automatic failure detection, or guaranteed supervision of a print.
Brief Alternatives
Bambu Lab A1
Compare the larger A1 when your intended projects exceed the mini’s dimensions and you want to evaluate a related workflow. Check its current specifications, operating-space requirements, accessories, and US price rather than assuming only the build plate differs.
Creality Ender-3 V3 SE
The SE offers a nominal 220 × 220 × 250 mm envelope and an SD-card file-transfer workflow. Its calibration features and current purchase price are worth comparing with the mini’s if build size matters.
This review does not provide measured evidence that one gives every beginner a smoother experience or requires less troubleshooting. Our Creality printer comparison explains the SE alongside the V3 KE and K1 Max.
Common Questions
Does automatic leveling eliminate setup and maintenance?
No. Follow the model’s setup, calibration, and maintenance instructions. Automatic leveling addresses specific adjustments; it does not replace a clean plate, correct assembly, suitable filament, or an appropriate profile.
Can it print without a cloud connection?
MicroSD printing is an offline option for supported files. Local-network capabilities and restrictions depend on current software, firmware, and settings. Verify those details before choosing a workflow.
Is the Combo worth the additional cost?
Compare it when you have specific multicolor projects in mind. Use the current bundle price and a representative slicer estimate to assess equipment cost, material use, and printing time.
Is the A1 mini suitable for functional parts?
Potentially, when the design, dimensions, material, and intended use are appropriate. Printing a bracket or replacement component does not by itself establish its strength or fitness for a particular application.
Verdict: Match the Printer to the Projects
The A1 mini is worth considering when your intended projects fit its envelope and its calibration features and software options match how you want to work.
Compare larger printers if splitting models would become routine. Check material requirements before deciding, and evaluate a Combo against actual multicolor projects rather than an assumed future need.
The strongest buying decision starts with a few representative models, the full available workspace, and the verified cost of the exact configuration.
Reference Sources and Research Method
This review discusses the model’s published features and their practical implications. It contains no hands-on tests or independent measurements. Current US prices, stock, bundle contents, and firmware-dependent functions were not independently reverified during this review and should be confirmed before purchase.